Our stocks
Find your perfect match

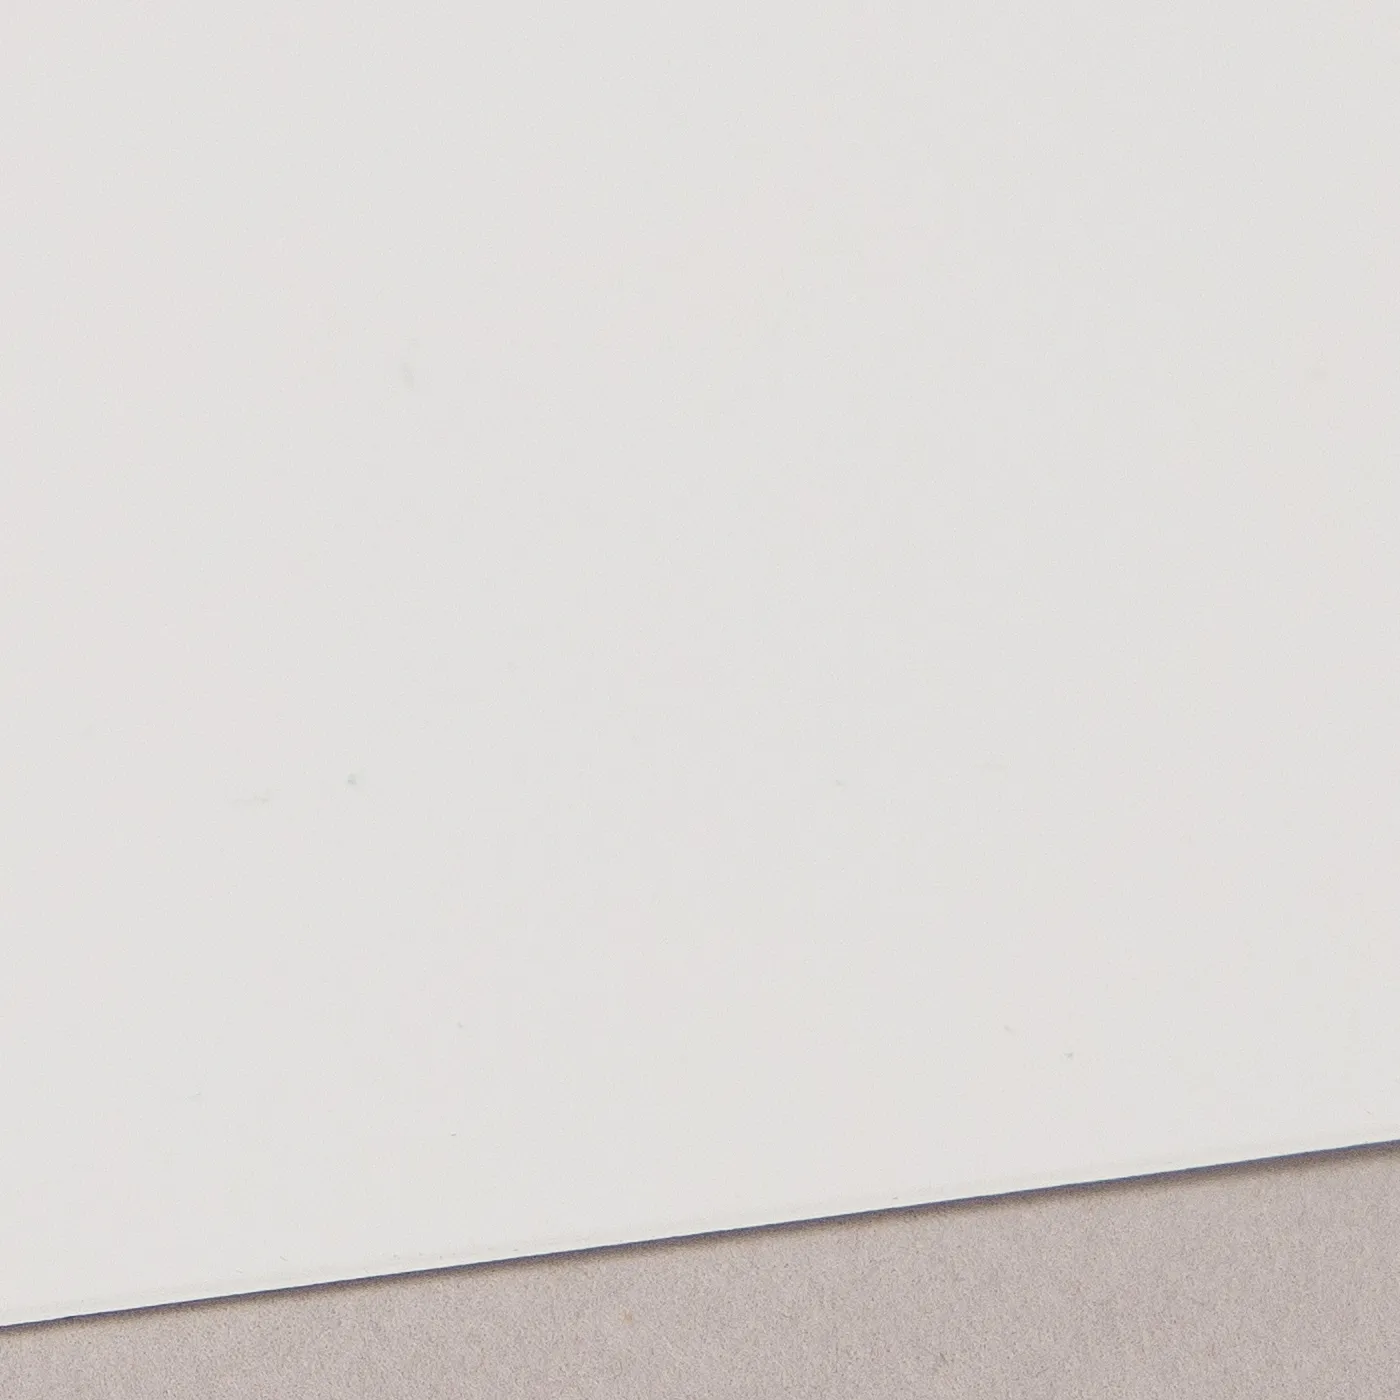
Permanent White (Matt)
Durable and waterproof, Permanent Matt Vinyl is the perfect choice for indoor or outdoor displays. The low surface shine ensures readibility, even from a distance.

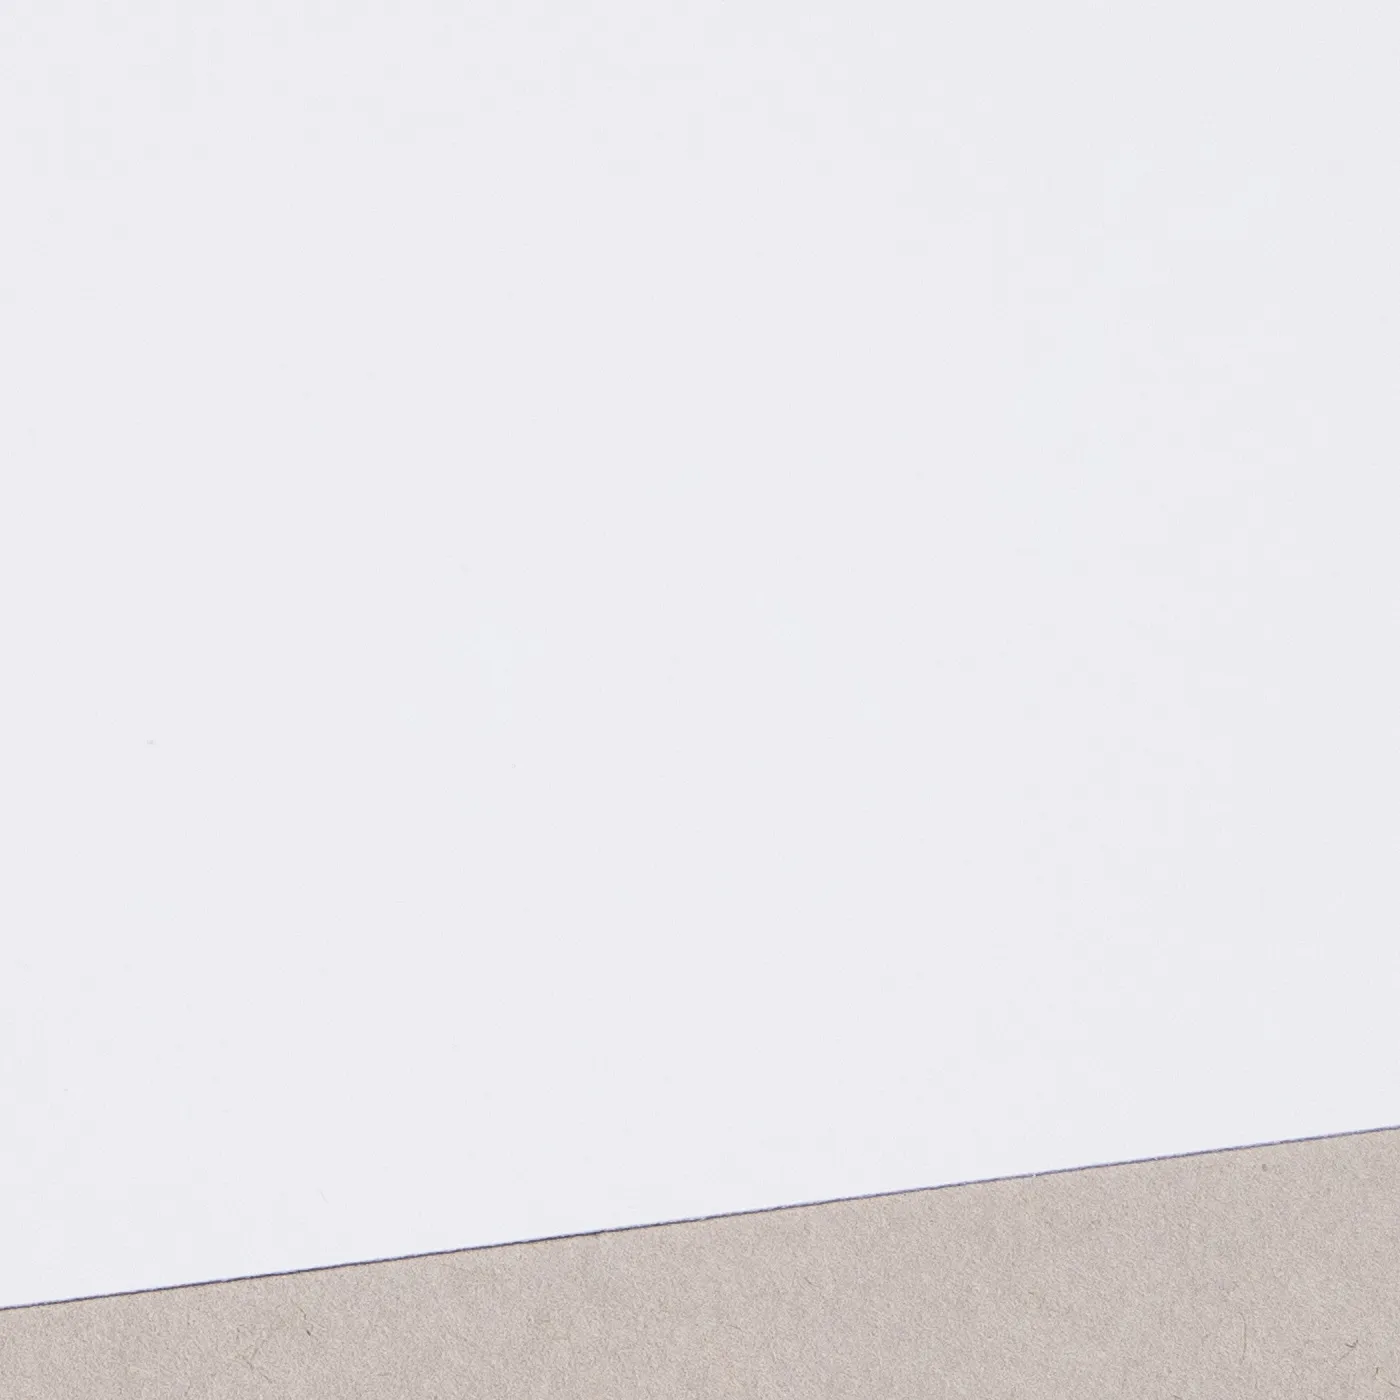
Permanent White (Gloss)
This glossy waterproof Vinyl is perfect for both indoor and outdoor use. A versatile material to help dress any space.

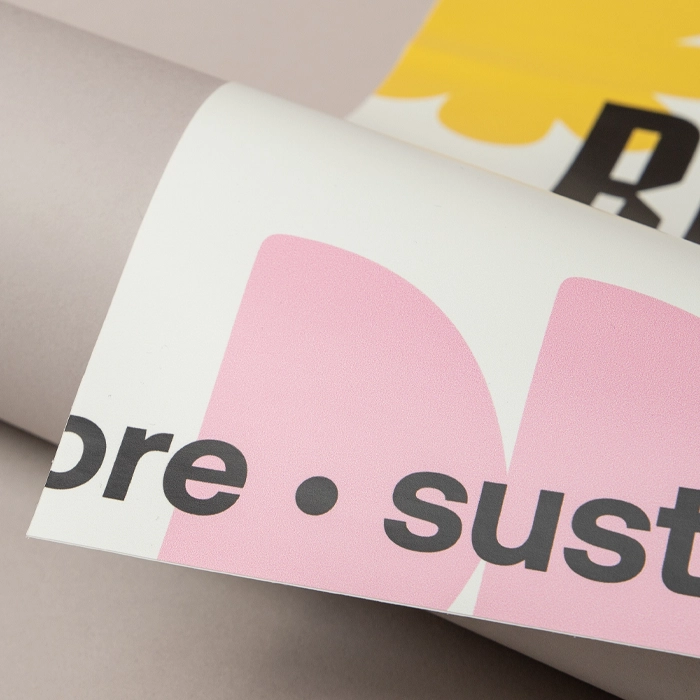
Removable White
All the strengths of permanent Vinyl without the commitment, it's coated with an adhesive that allows it to be easily removed without leaving behind any residue. Best for use on flat, smooth surfaces.
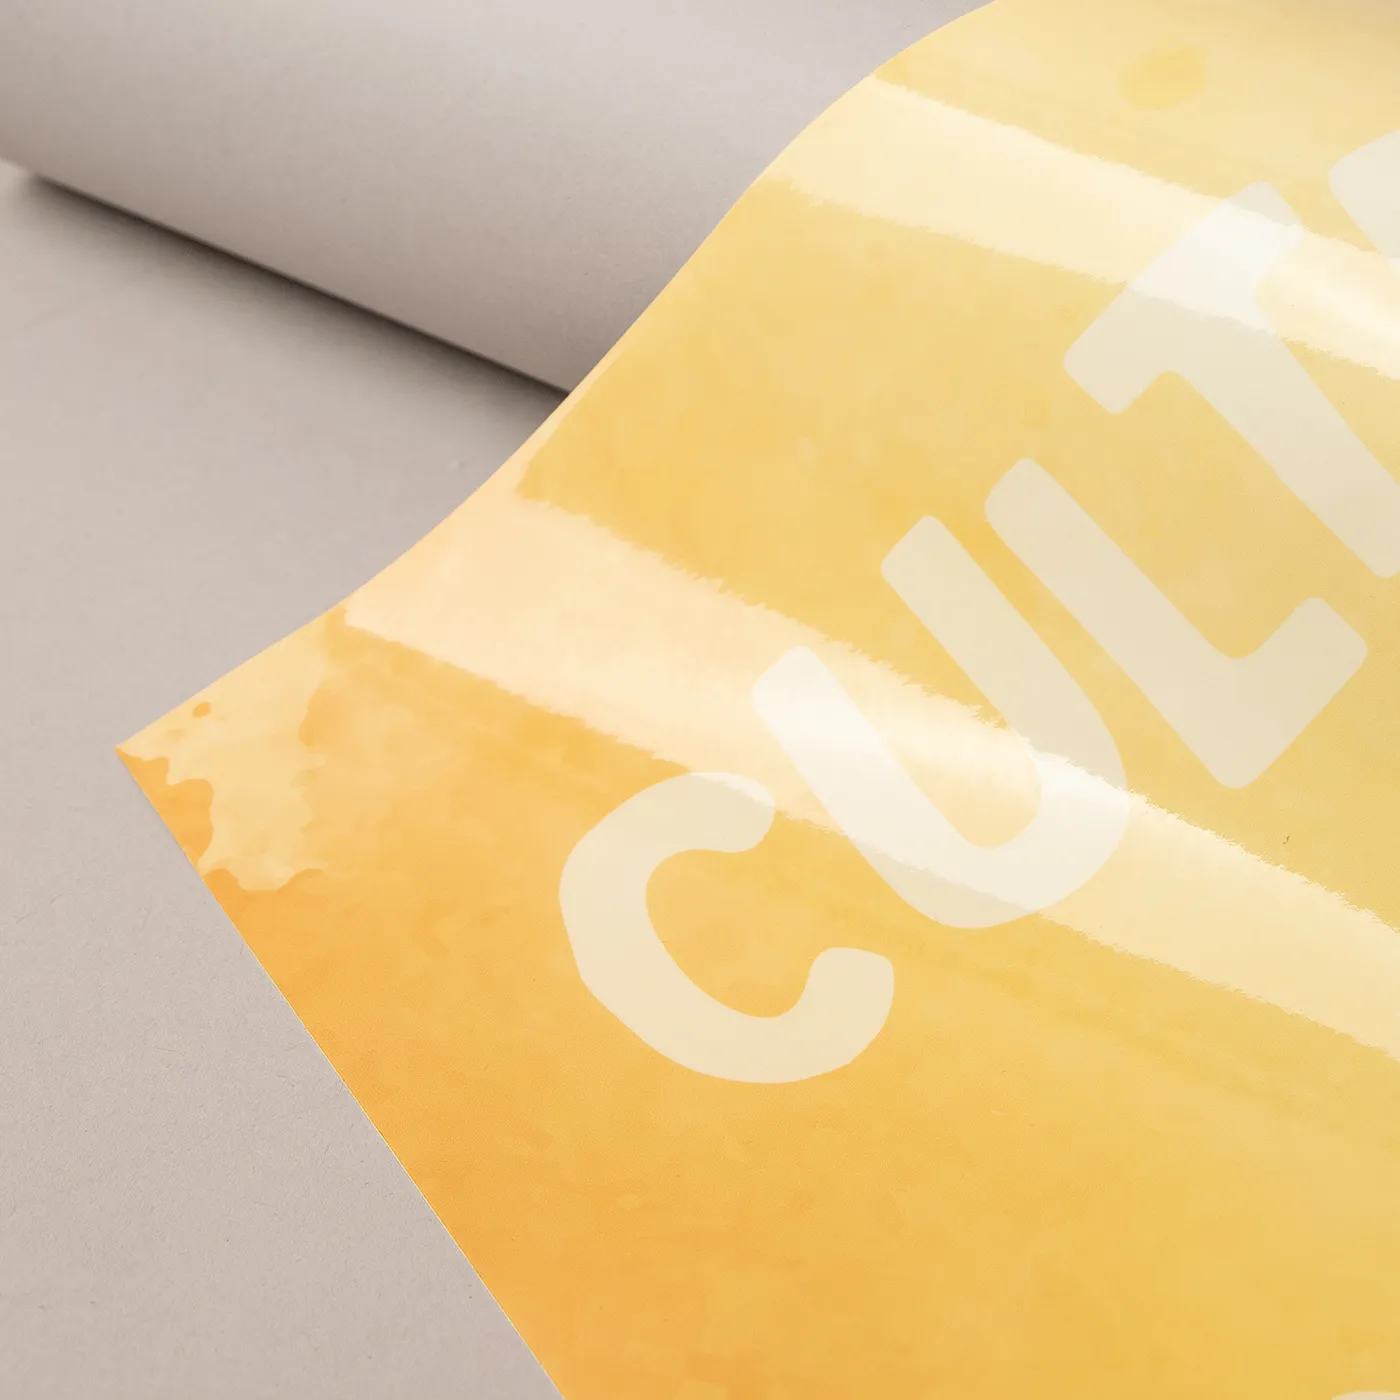
Removable Clear
Our Clear Self-Adhesive is super easy to apply and remove from windows and glass. As we don’t print White Ink on this stock, coloured areas in your designs will remain translucent.

Contra Vision
Stick on the outside of windows to provide a 40% transparency and give privacy while letting light through. Printed onto white, with a black reverse. Strong weatherproof adhesion, and clean removability (dependent on conditions).


Frequently asked questions
Got a question? We might have answered it here. If not, feel free to get in touch with The Team, we’re here to help!
How long will my print take to arrive?
Find out how quickly you can get your print by filling in your selected options in the product builder, and check out the delivery options at the bottom. You can also explore the available delivery options from your basket once you’ve added a product.
How do I set up my artwork for print?
Do you provide downloadable templates?
How do I apply Custom Vinyl Decals?
Applying Vinyl Decals is quick and easy! Follow these steps for smooth application:
- Prepare the surface – Make sure the surface is clean and dry. Use soap, water, or rubbing alcohol to remove dust or grease.
- Position your decal – Place the decal where you want it, still attached to the backing paper. Use a ruler for perfect alignment.
- Secure with tape – Use masking tape to hold it in place.
- Remove the backing paper – Slowly peel off the backing paper to expose the adhesive side.
- Smooth it down – Press the decal onto the surface, starting from the centre and working outward to avoid air bubbles.
- Use a squeegee or credit card – Firmly press the decal to ensure it sticks.
- Peel off the transfer tape – Slowly remove the top tape, leaving the decal in place.
How best to remove Vinyl Lettering?
Removing Vinyl Decals or lettering is simple, whether it’s on glass or metal, just follow these steps:
- Warm it up: Gently heat the decal with a hairdryer to soften the adhesive. This makes removal much smoother and easier.
- Peel carefully: Use your fingernail or a plastic scraper to lift an edge, then peel the decal away slowly to avoid tearing.
- Clean any residue: For leftover adhesive, apply soapy water, an adhesive remover, or a vinegar-water mix. Let it sit for a few minutes, then wipe it away with a clean cloth.
What is the difference between die cut and kiss cut?
What is Contra Vision?
Contra Vision is a specialised vinyl decal designed for windows and glass surfaces. Its unique 40% transparency allows natural light to flow in while maintaining privacy from the outside—perfect for keeping prying eyes out without compromising brightness.
What surfaces can Vinyl be applied to?
Self-Adhesive Vinyl works best on smooth, flat surfaces like glass or metal, where its adhesive properties can perform at their peak. While versatile, it’s not ideal for textured surfaces like brick, wood, or rough walls, as these can affect adhesion and may lead to peeling or bubbling over time.
How do I set up my cutline or score cut?
- Open your design file and add a dedicated "Cutline" layer.
- Label it clearly to keep everything organised for production.
- On the "Cutline" layer, trace the shape of your Vinyl using your design software.
- Use a 0.75pt stroke in 100% Magenta for clear visibility and ensure the cutting machine can easily recognise it.
- Extend your design 3mm beyond the cutline to prevent white edges when trimmed.
- Avoid placing critical elements (like text or logos) in the bleed zone, as they may get cut off. Keep them within the safe area.
- Since the Cutline is only a guide, make sure it doesn’t appear on the final print.
- Set the layer to "non-printable" in your design software.
- Add a new layer labeled "Score Cut" to your file.
- Use a 0.75pt stroke in C60 M0 Y70 K0 for clear identification.
- Ensure your file is in CMYK mode for accurate colour reproduction during printing.
- Carefully trace the Vinyl shape on this layer.
- Keep shapes simple with smooth outlines, avoiding overly intricate designs or jagged edges.
- Leave at least 4mm between cut lines and from the document edge to prevent overlapping cuts or production issues.
- Like with Cutlines, extend your design 3mm beyond the Score Cut to avoid white edges.
- Place critical design elements within the safe area to ensure they aren’t trimmed off.
- Ensure the Score Cut layer is marked as "non-printable" so it doesn’t appear in the final design.
- Save your design as an Adobe PDF (Print) using the PDF/X-4:2008 preset.
- Under "Marks and Bleeds," tick “Use Document Bleed Settings” to ensure the bleed is included.


