


 UK
UK 
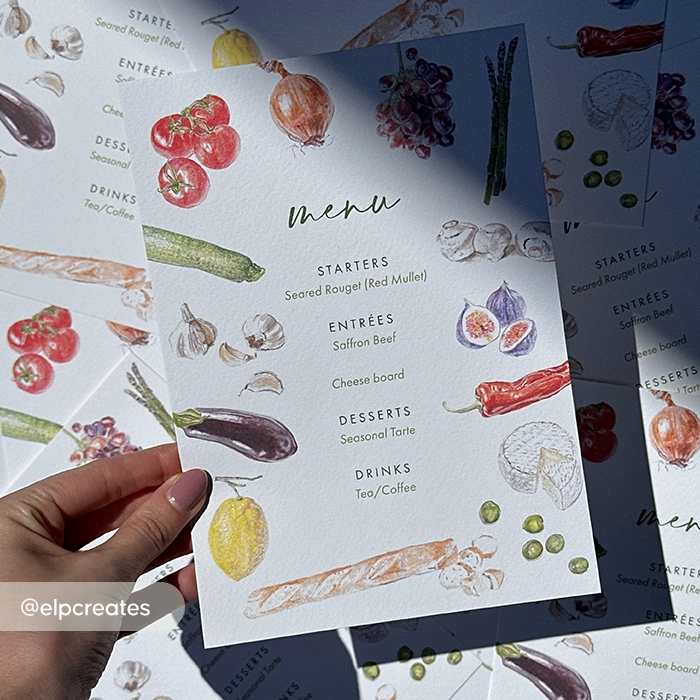
Menu Printing
From £ 12.50 (ex VAT)

 4.6
4.6
- Indoor and outdoor Menus available
- Lamination for wipeable Menus or tearproof available
- Next day delivery on selected options

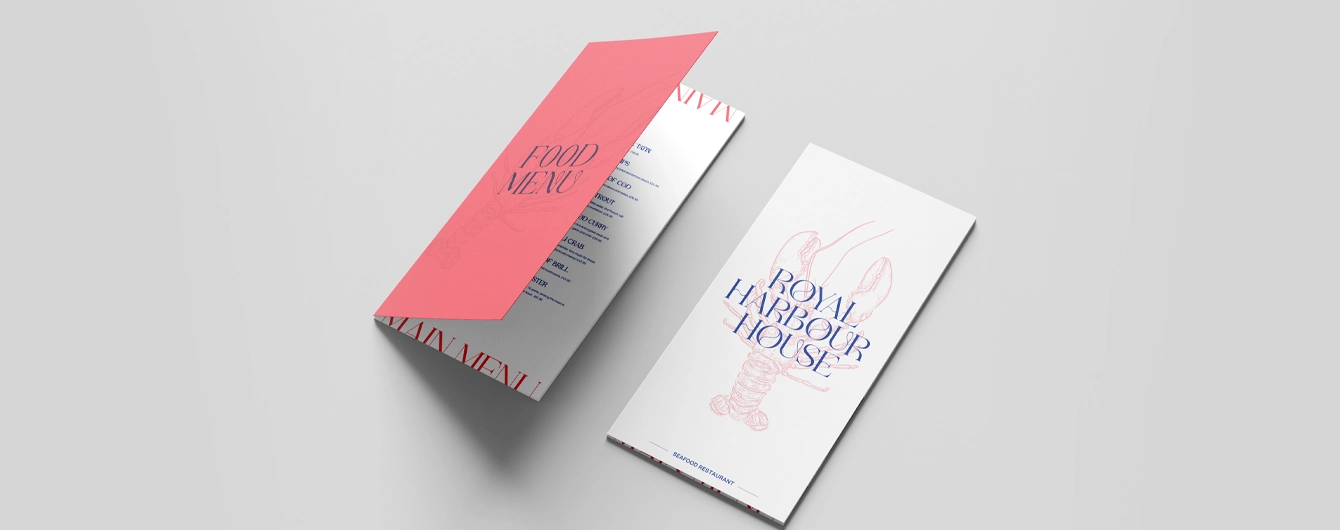
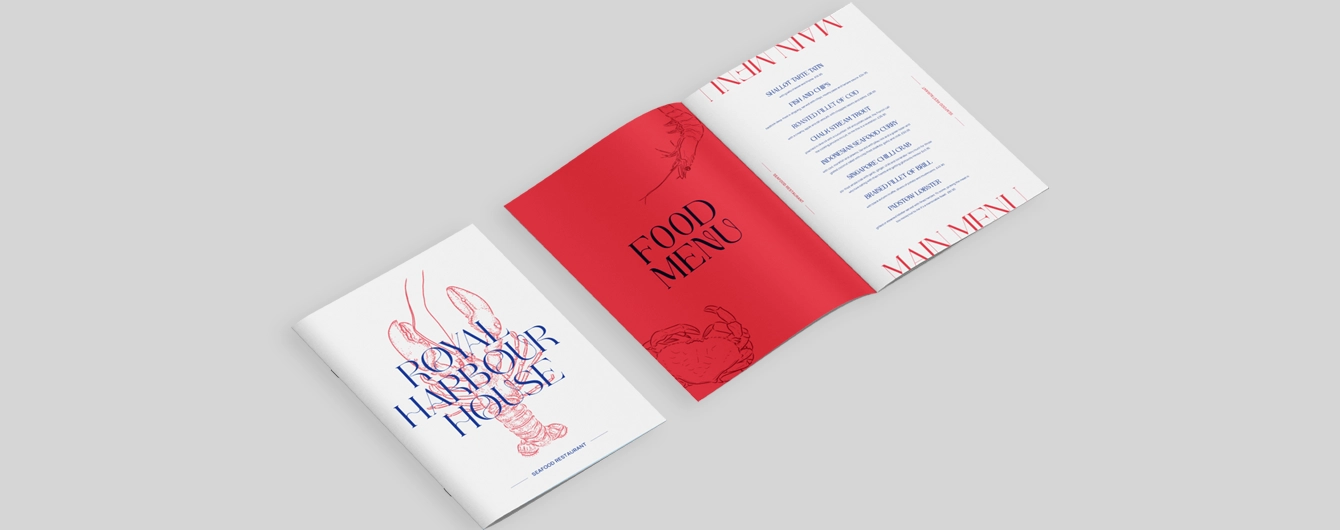
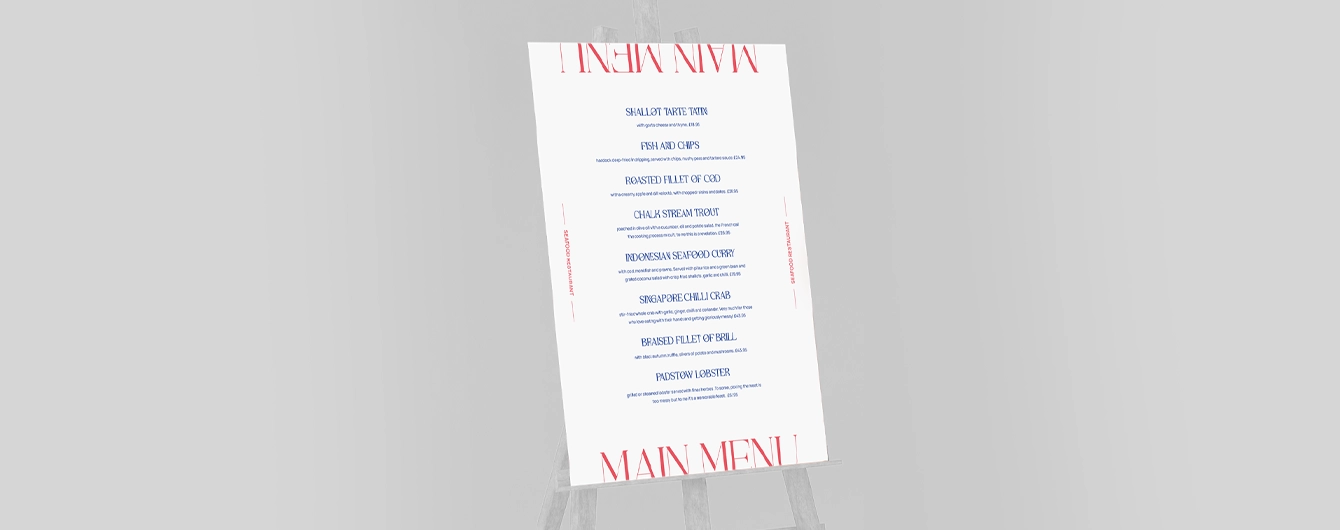
Guide to perfect print
Get your print to the presses perfectly with everything you need to get set up
Free Sample Packs
Get a feel for our range of quality products, papers and special finishes in our free Sample Packs.
Bespoke Service
Can’t find the print you’re looking for? From unique papers to custom sizes and finishes, our Bespoke Team can help with your request.
Safe area
- Folded Menus
- Menus
- Booklet Menus
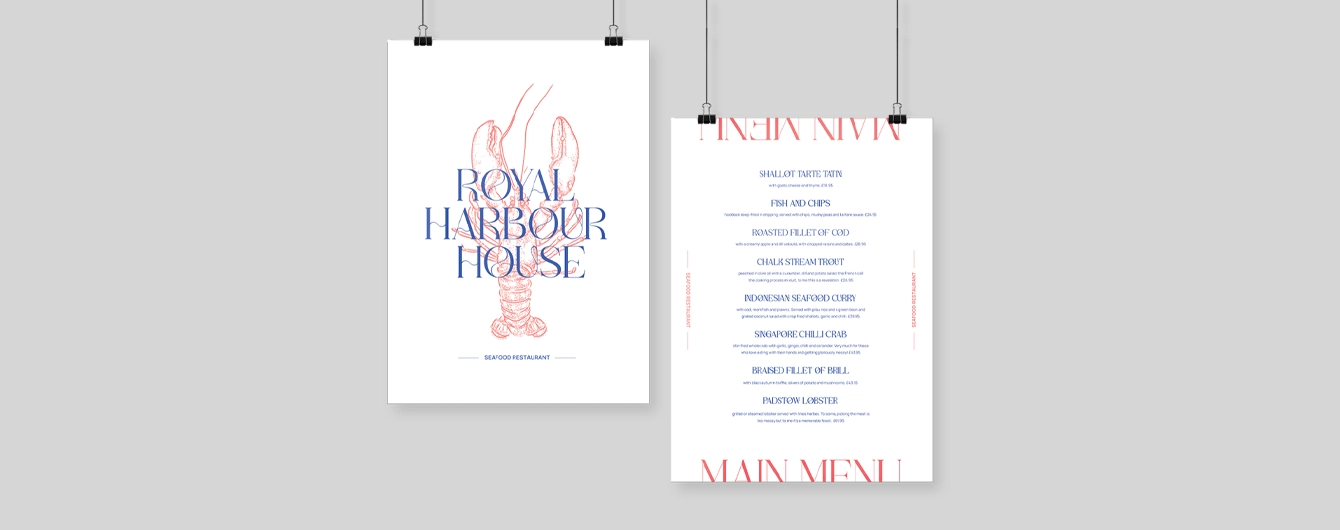
- Menu Posters
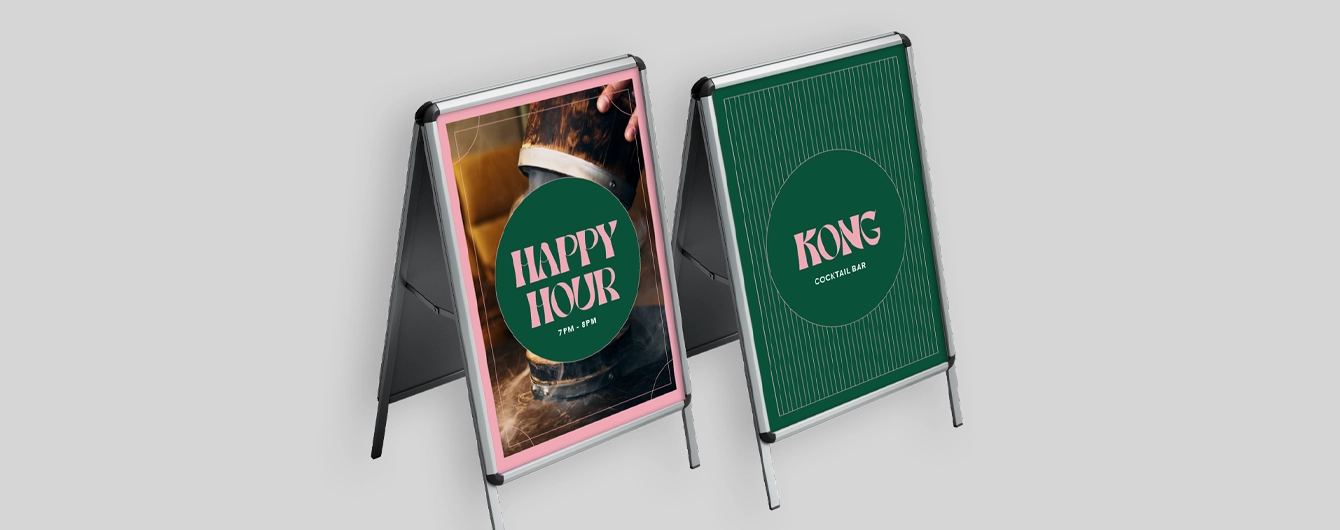
- Outdoor Menu Boards
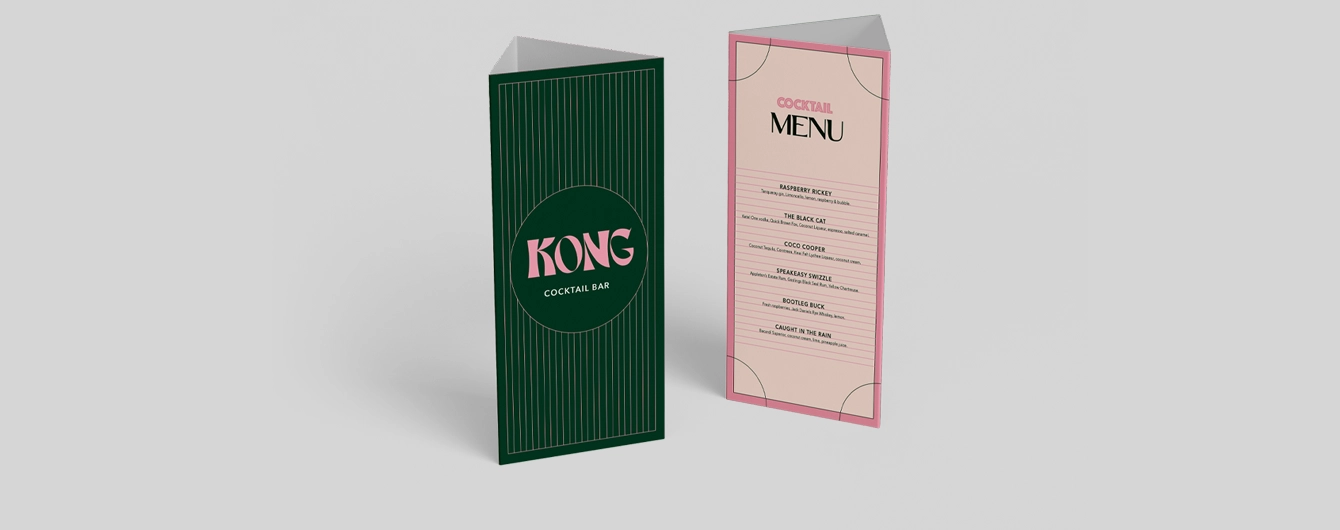
- Table Talker Menus
- Menu Boards
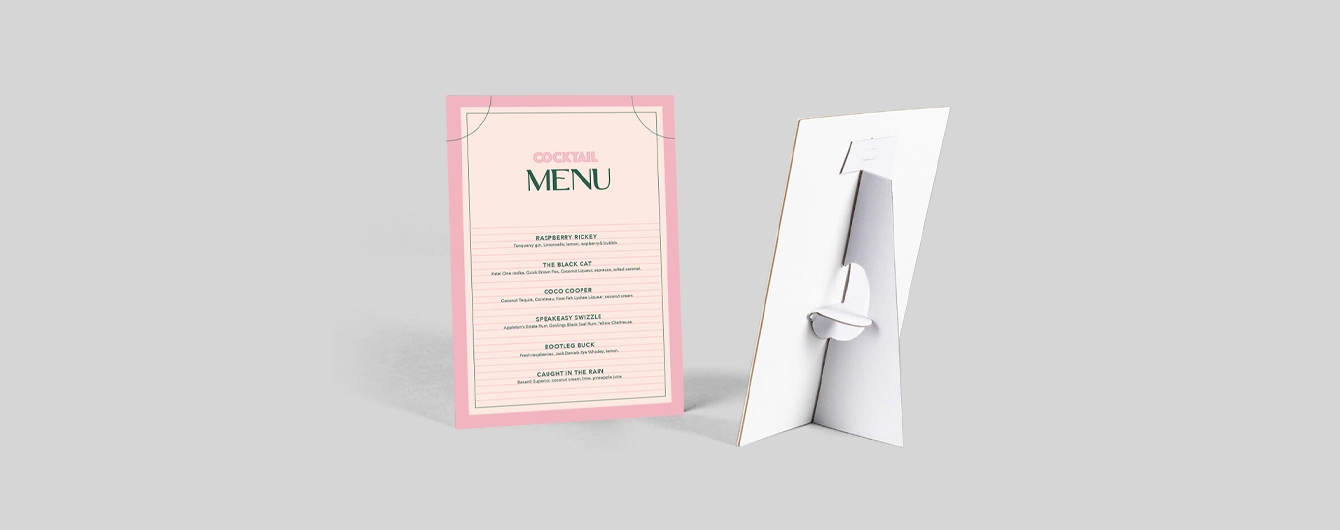
- Strut Card Menus
- No elements found. Consider changing the search query.
- List is empty.
- A5 portrait folded menu
- DL portrait folded menu
- A5 portrait gate fold menu
- A5 landscape folded menu
- DL landscape folded menu
- A5 landscape tent fold menu
- 148mm x 148mm gate fold menu
- 148mm x 148mm square folded menu
- 5" x 7" portrait folded menu
- A6 portrait folded menu
- A6 landscape tent fold menu
- DL landscape tent fold menu
- A6 landscape folded menu
- A6 portrait gate fold menu
- 5" x 7" portrait gate fold menu
- 5" x 7" landscape folded menu
- 5" x 7" landscape tent fold menu
- 148mm x 148mm square tent fold menu
- No elements found. Consider changing the search query.
- List is empty.
- Illustrator
- InDesign
- No elements found. Consider changing the search query.
- List is empty.
Sustainable print
At Printed.com, we want to help you reduce your environmental impact. From using innovative packaging and sourcing eco-friendly papers, to minimising waste and promoting recycling, we’re dedicated to giving you more sustainable choices across our range.
Find Out More
More information
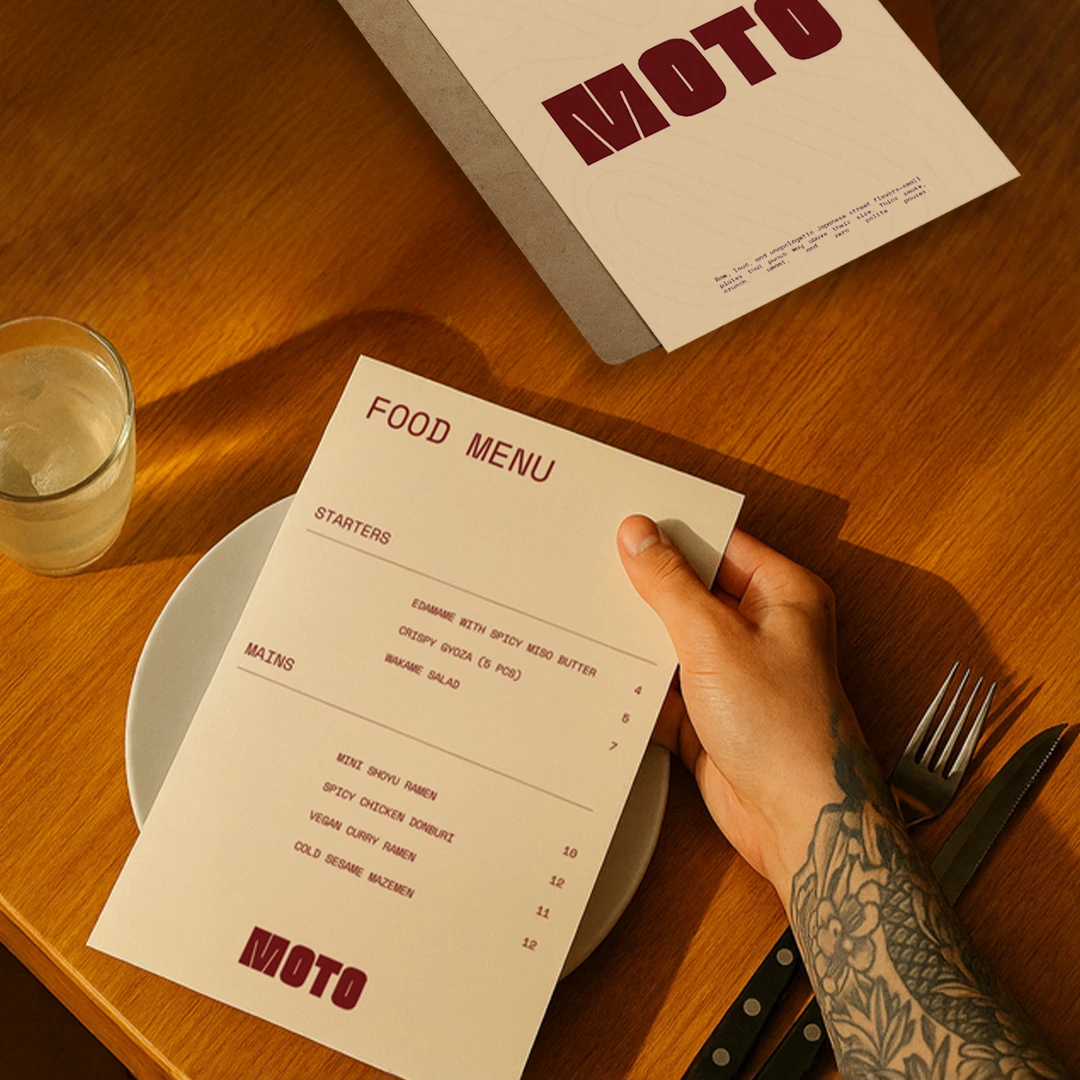
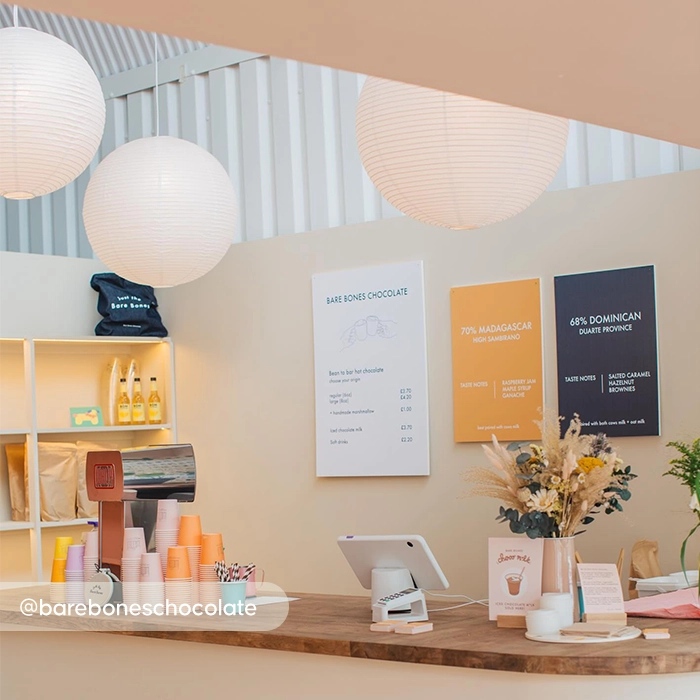
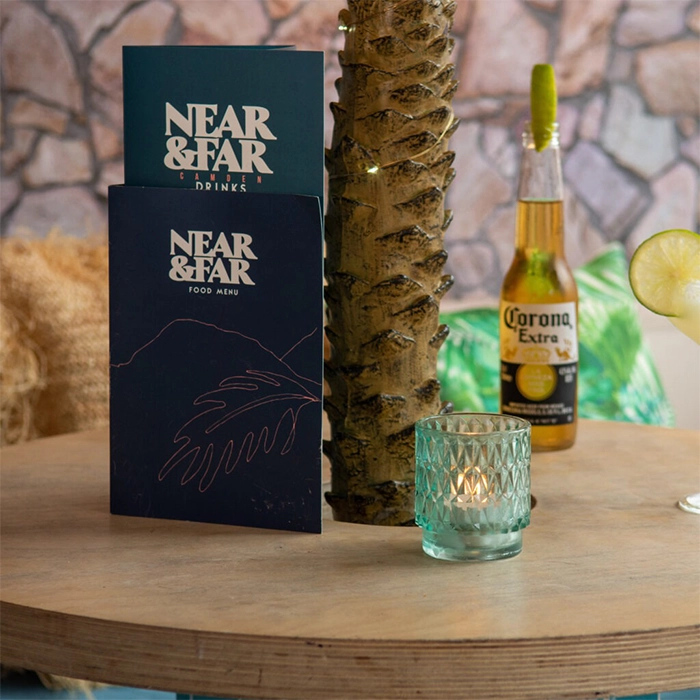
Elevate your restaurant, café, or bar with our premium Menu printing services. We offer a versatile range of formats, from small paper Menus to large boards and signs, with options suitable for both indoor and outdoor use. Whether you’re aiming for luxury or budget-friendly customisations, we’ve got you covered. Choose our Tearproof paper or laminations for wipeable and long-lasting Menus that can withstand the busiest service. Plus, enjoy next day delivery on selected options for those last-minute specials Menus or emergency restocks. Save on unit costs by printing multiple Versions at once, ideal for seasonal Menus. Explore all your Menu printing needs, including takeaway Menus, restaurant Menus, and printed Menus designed to impress your customers.
Frequently asked questions
Got a question? We might have answered it here. If not, feel free to get in touch with The Team, we’re here to help!
How long will my print take to arrive?
Find out how quickly you can get your print by filling in your selected options in the product builder, and check out the delivery options at the bottom. You can also explore the available delivery options from your basket once you’ve added a product.
What should I know before preparing artwork for print?
What is a Professional File Check?
For a small fee, an expert member of our technical team will manually review your artwork before it goes to print so you can press 'go' with complete confidence.
- Image resolution for print quality
- Bleed and safe areas
- Page count and page order on folded products
- Corrupt, blank or password-protected files
- Templates left on artwork
- Folds, cut lines, drill holes and binding areas (where applicable)
- Foil alignment and minimum line widths (where applicable)
- Personalisation files and version quantities (where applicable)
- Spelling, grammar or proofreading
- Design, layout or text sizing advice
- Colour accuracy or colour mode checks (RGB/CMYK)
- QR code testing
- Calendar date checks
- Post-print quality inspection beyond our standard production processes
How to design a Menu?
Designing a Menu involves creativity and strategic planning. Key steps include aligning it with your brand, organising content clearly, ensuring readability, highlighting key items, using enticing descriptions and quality images, choosing the right material and menu type for the surroundings and what you require is essential. Treat your Menu as a conversation with your customers, guiding them through your offerings with clarity and charm.
How to choose the right Menu type?
Choosing the right menu type for your business is essential for effectively showcasing your offerings and enhancing your customer experience. Here’s a quick guide to help you decide:
- Folded Menus Ideal for casual dining, takeaways, and cafes. Compact and easy to handle, offering space for detailed descriptions and images. Perfect for showcasing a variety of dishes or seasonal specials.
- Booklet Menus Ideal for fine dining with extensive wine lists and diverse menus, this format allows detailed sections for appetisers, main courses, desserts, and drinks, offering a comprehensive and elegant dining experience.
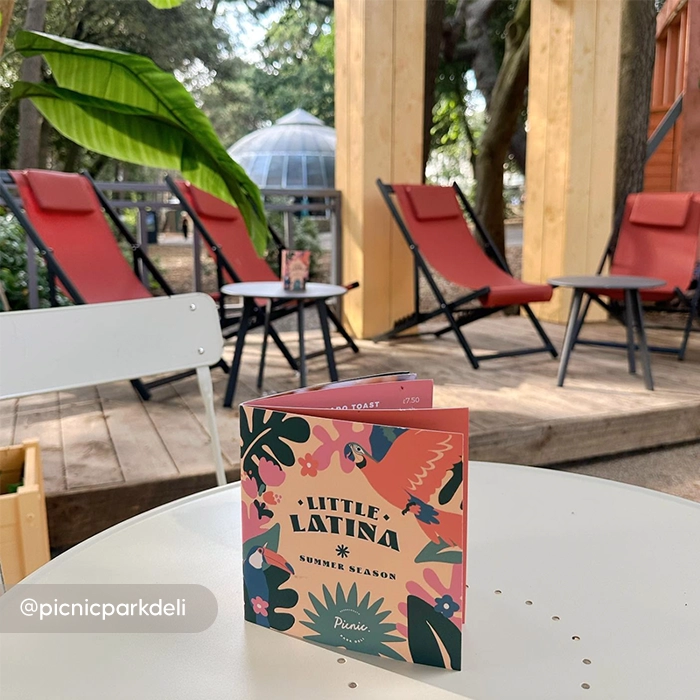
- Outdoor Menus Ideal for street food vendors, food trucks, and open-air cafes. These are durable, weather-resistant, and highly visible, designed to endure outdoor conditions and attract customers with vibrant designs.
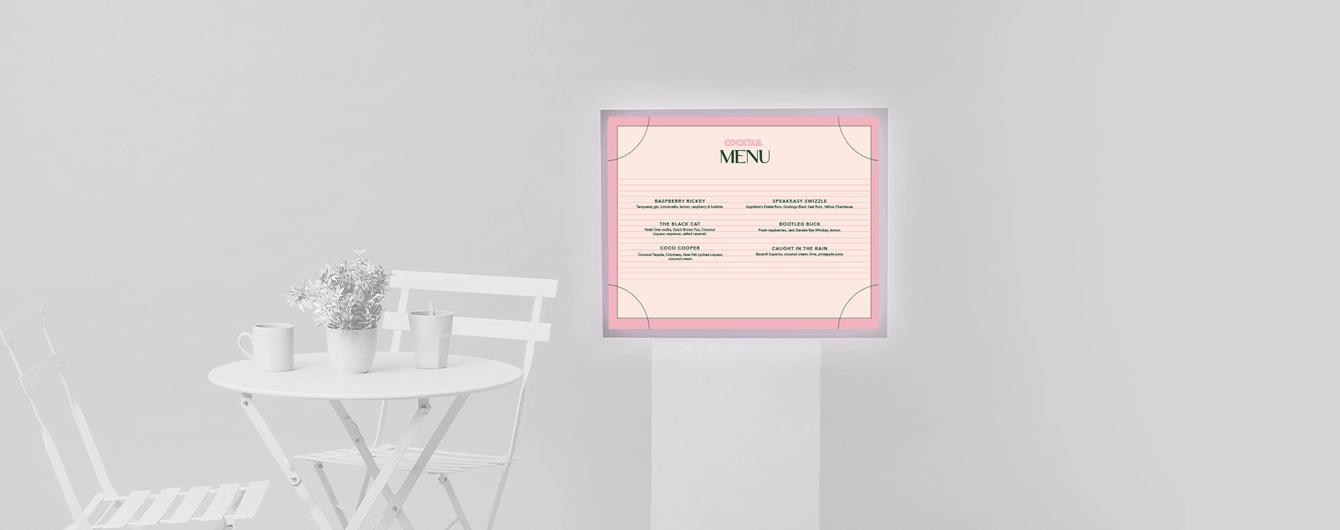
- Backlit Menu Ideal for bars, nightclubs, and modern restaurants, this option is eye-catching, enhances readability in low-light settings, and adds sophistication. Perfect for highlighting key Menu items and promotions.
What are Versions?
Our Versions service lets you print multiple designs using the same product specifications. For instance, if you have five different Menu designs that share the same size, orientation, and paper stock, you can print them all at once using this service. By opting for Versions, you're increasing your overall quantity, which means you'll enjoy a lower cost per unit.
Which lamination is best for Menus?
Choosing the right lamination for your menus can make all the difference in keeping them looking sharp and professional:
- Gloss Lamination: A sleek, high-shine finish that’s scratch-resistant and easy to wipe clean. Perfect for busy cafes and restaurants.
- Anti-Bacterial Gloss Lamination: Want an extra layer of protection? This high-shine gloss is embedded with silver ions, killing 99% of bacteria and keeping your menus hygienic.
- Matt Lamination: For a sophisticated, luxurious look, matt lamination reduces glare while adding an elegant touch.
- Velvet Lamination: Give your menus a premium feel with this soft-touch, tactile finish that’s sure to impress.
More products you might like
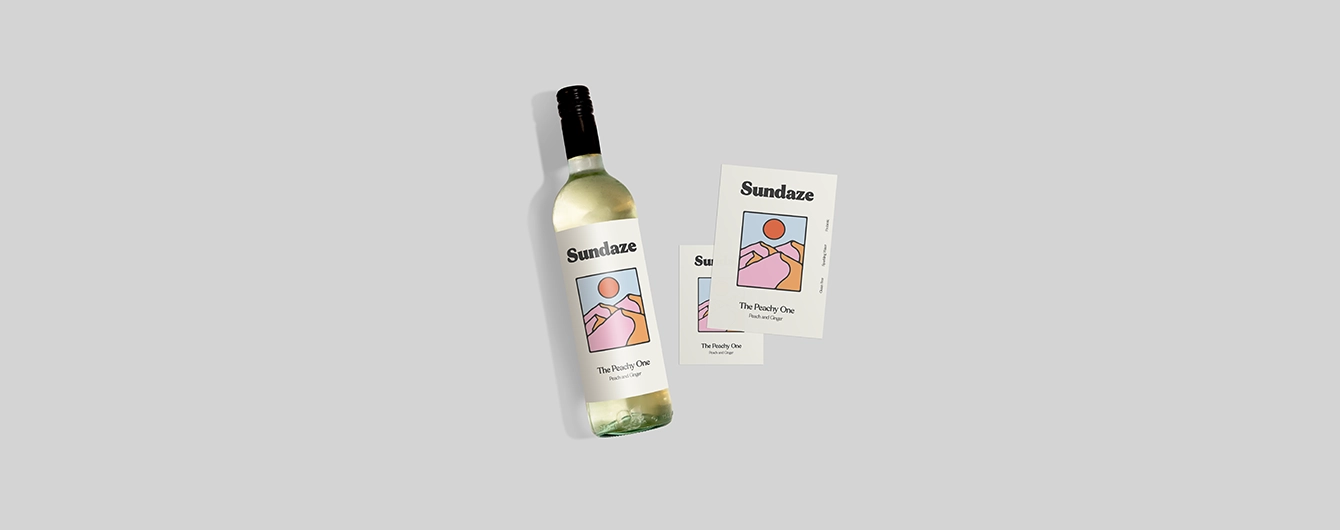
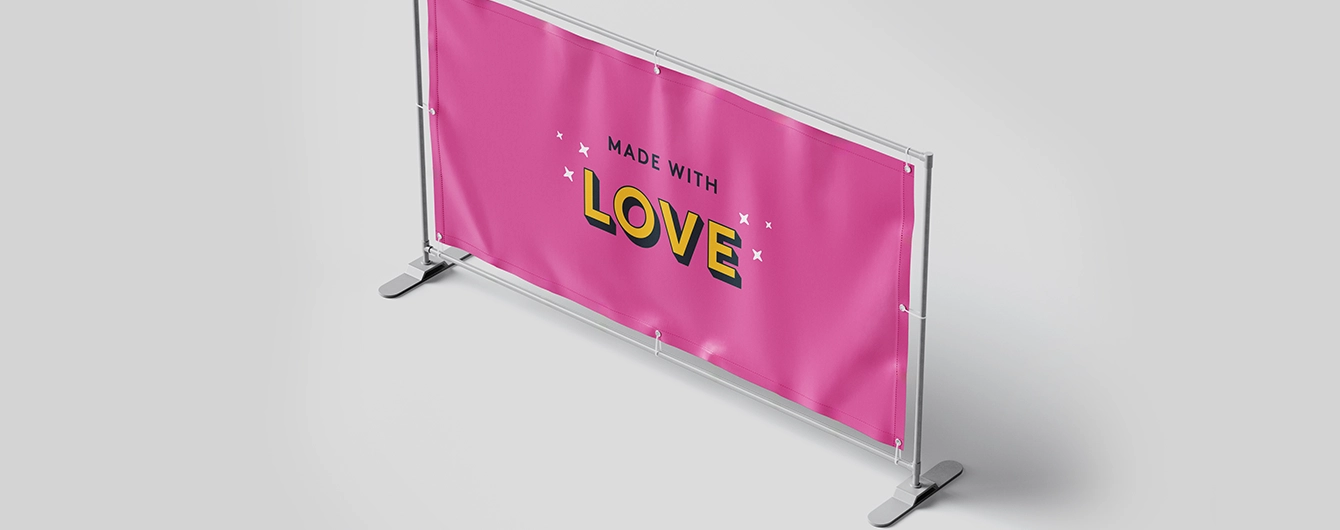
Folded Menus
Our product presets
Our product presets
Build your own or choose from one of our preset options
Fold type
Fold type
Size
Size
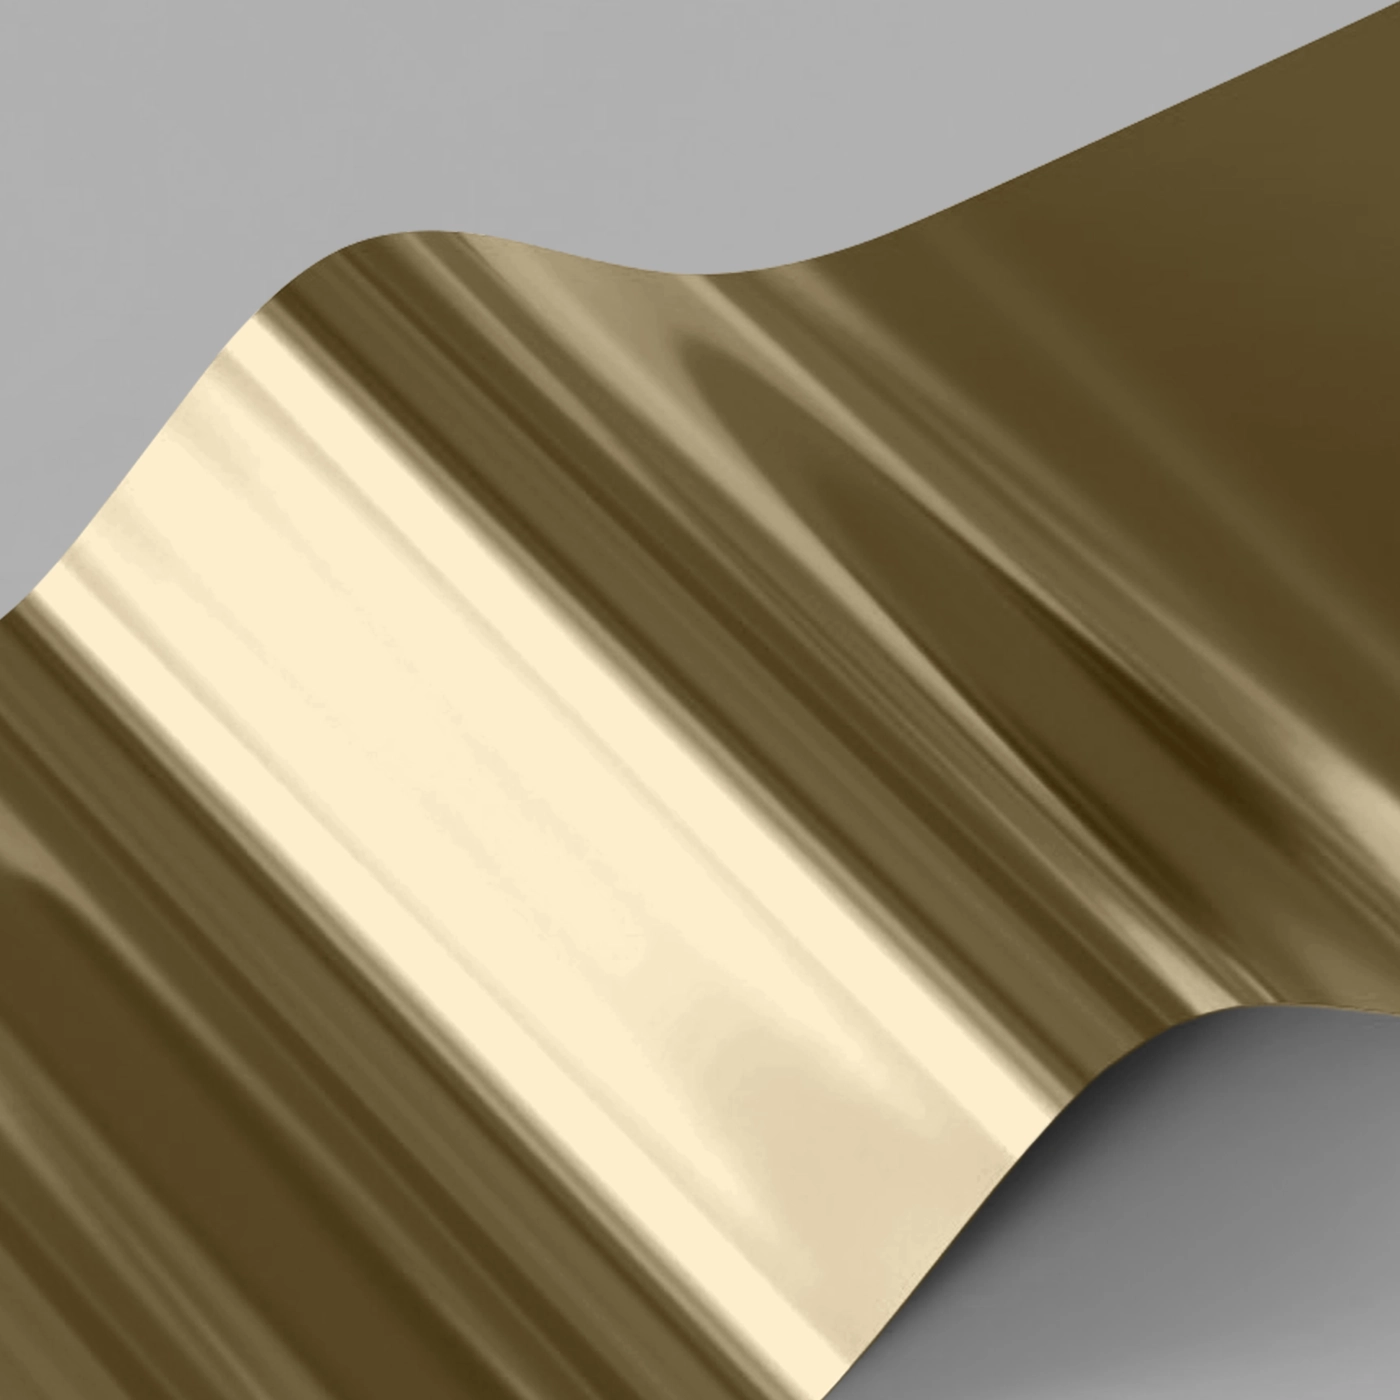
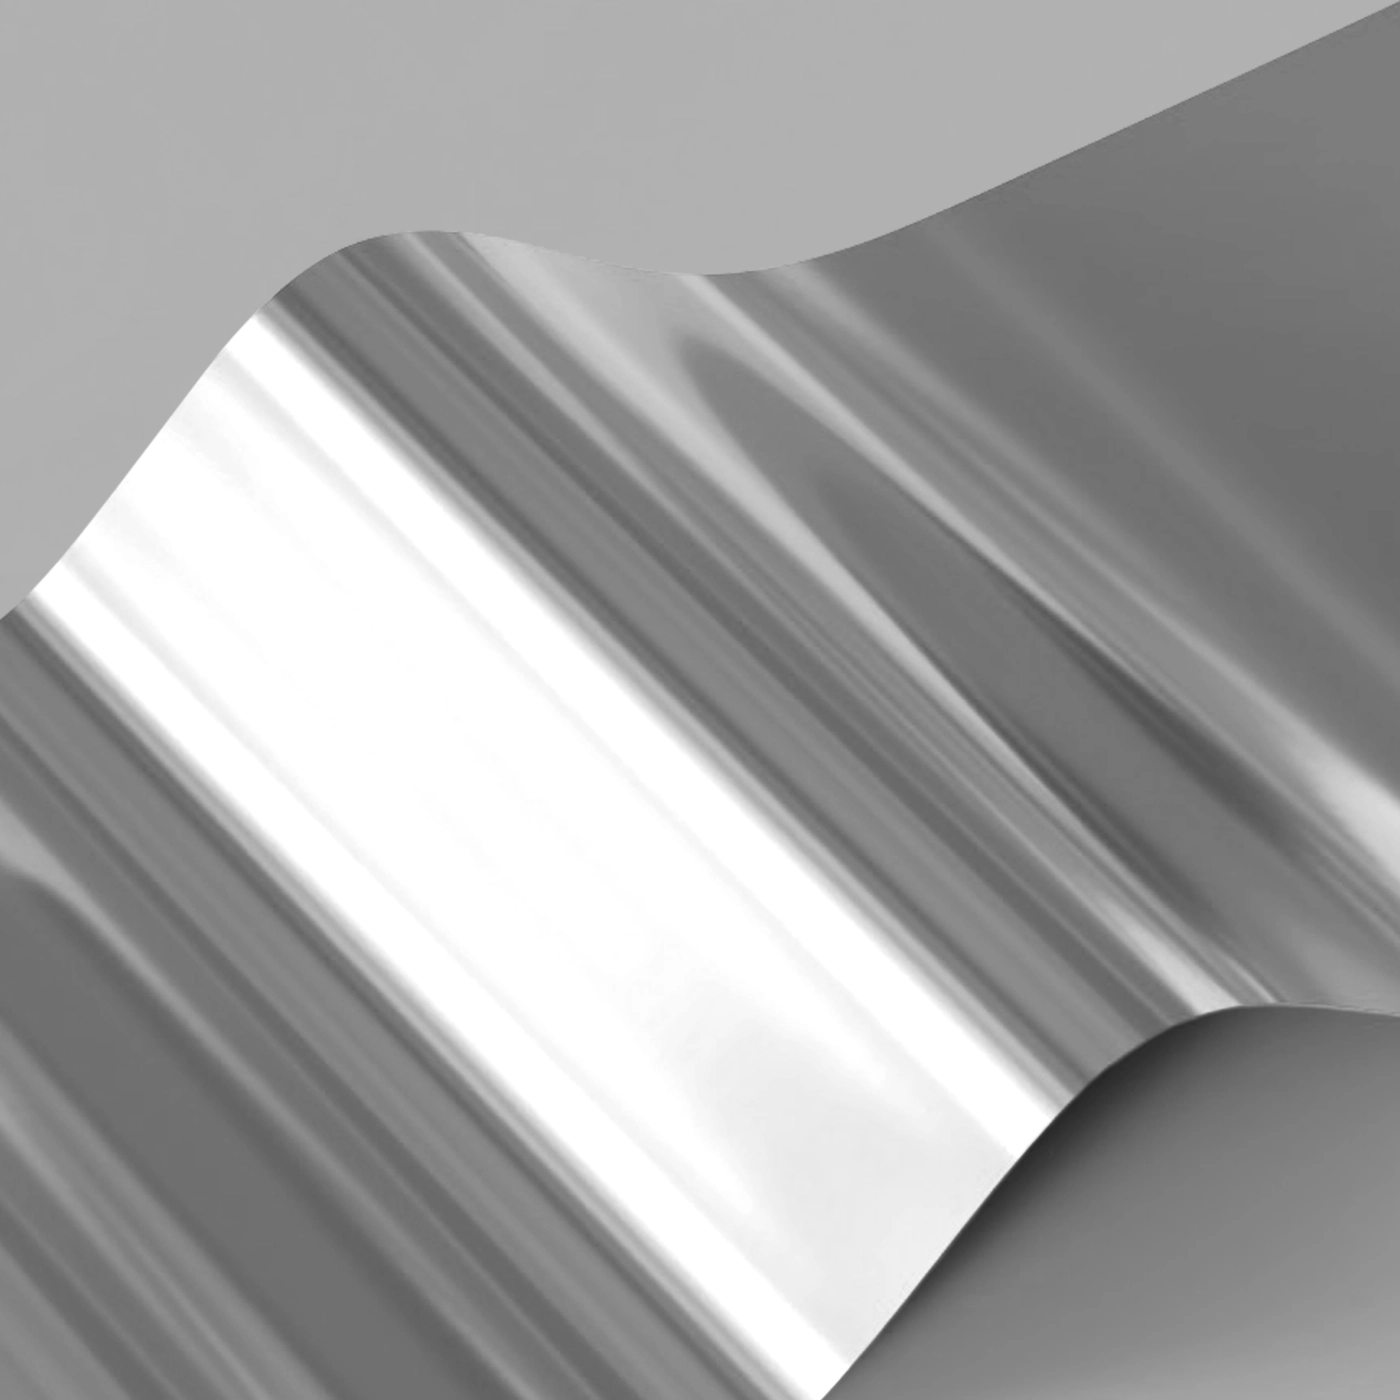
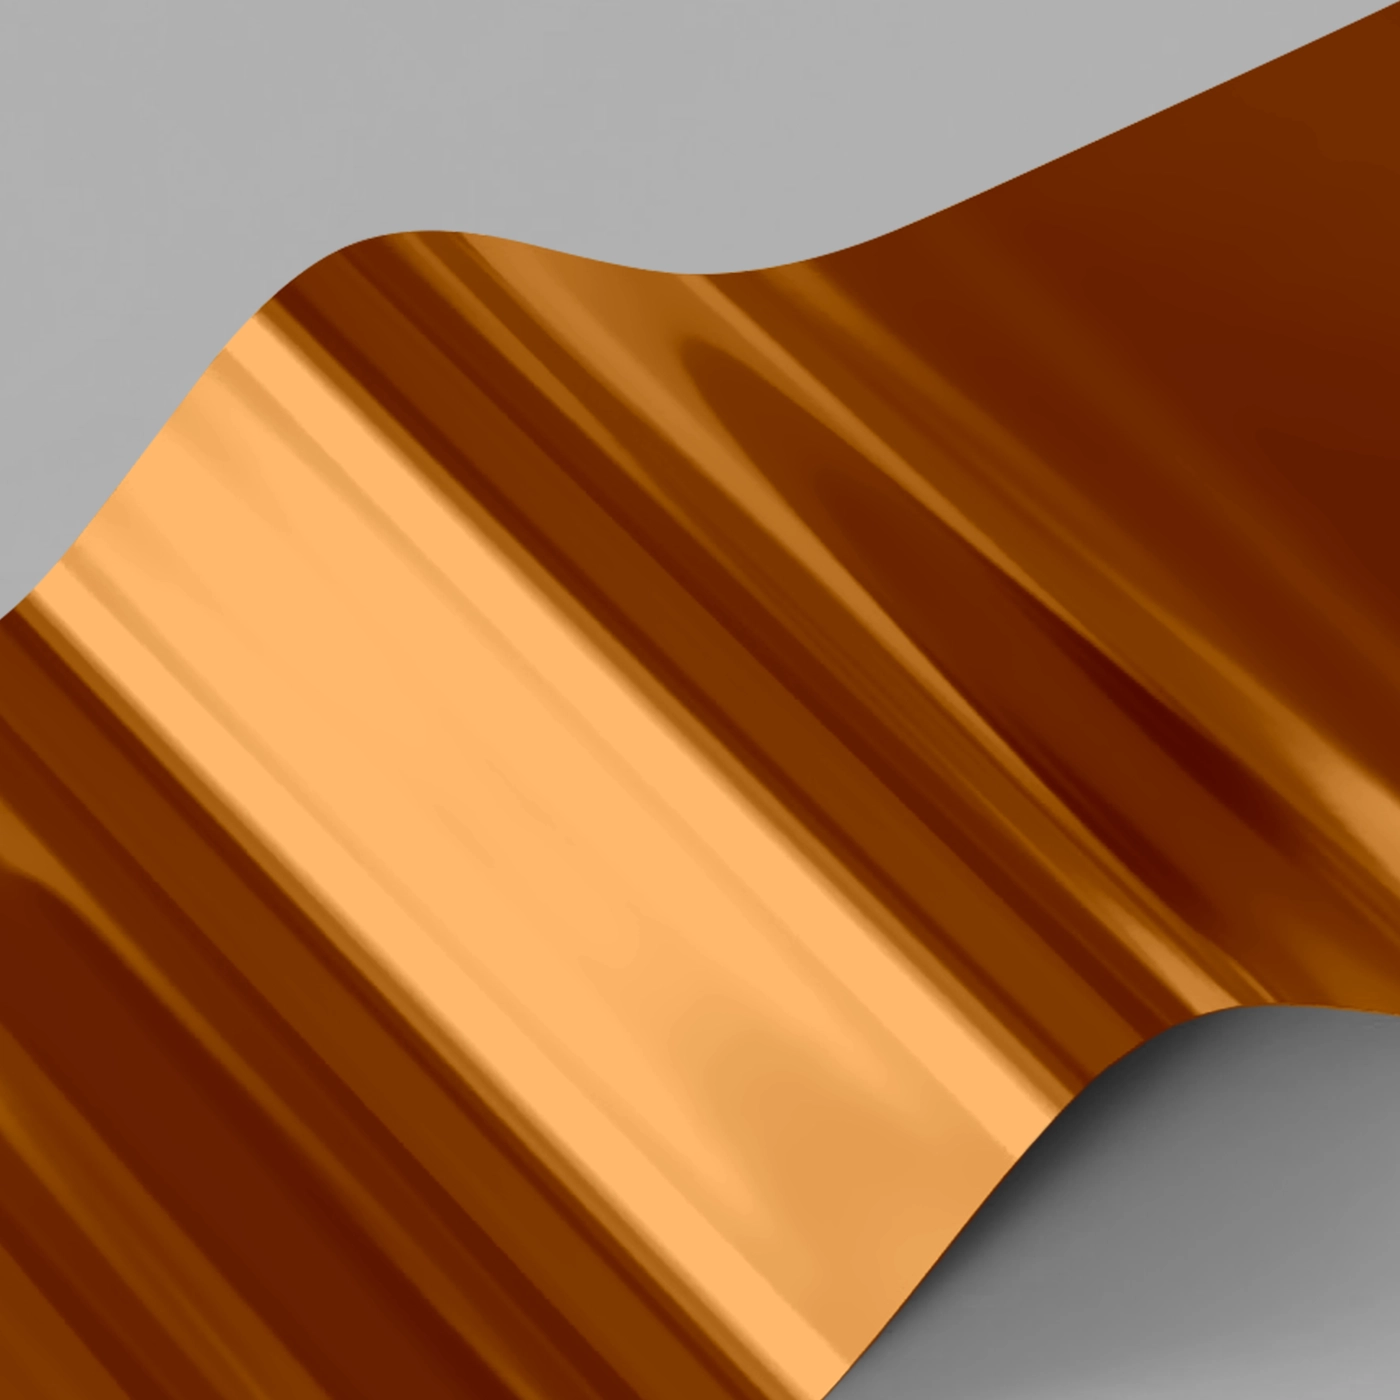
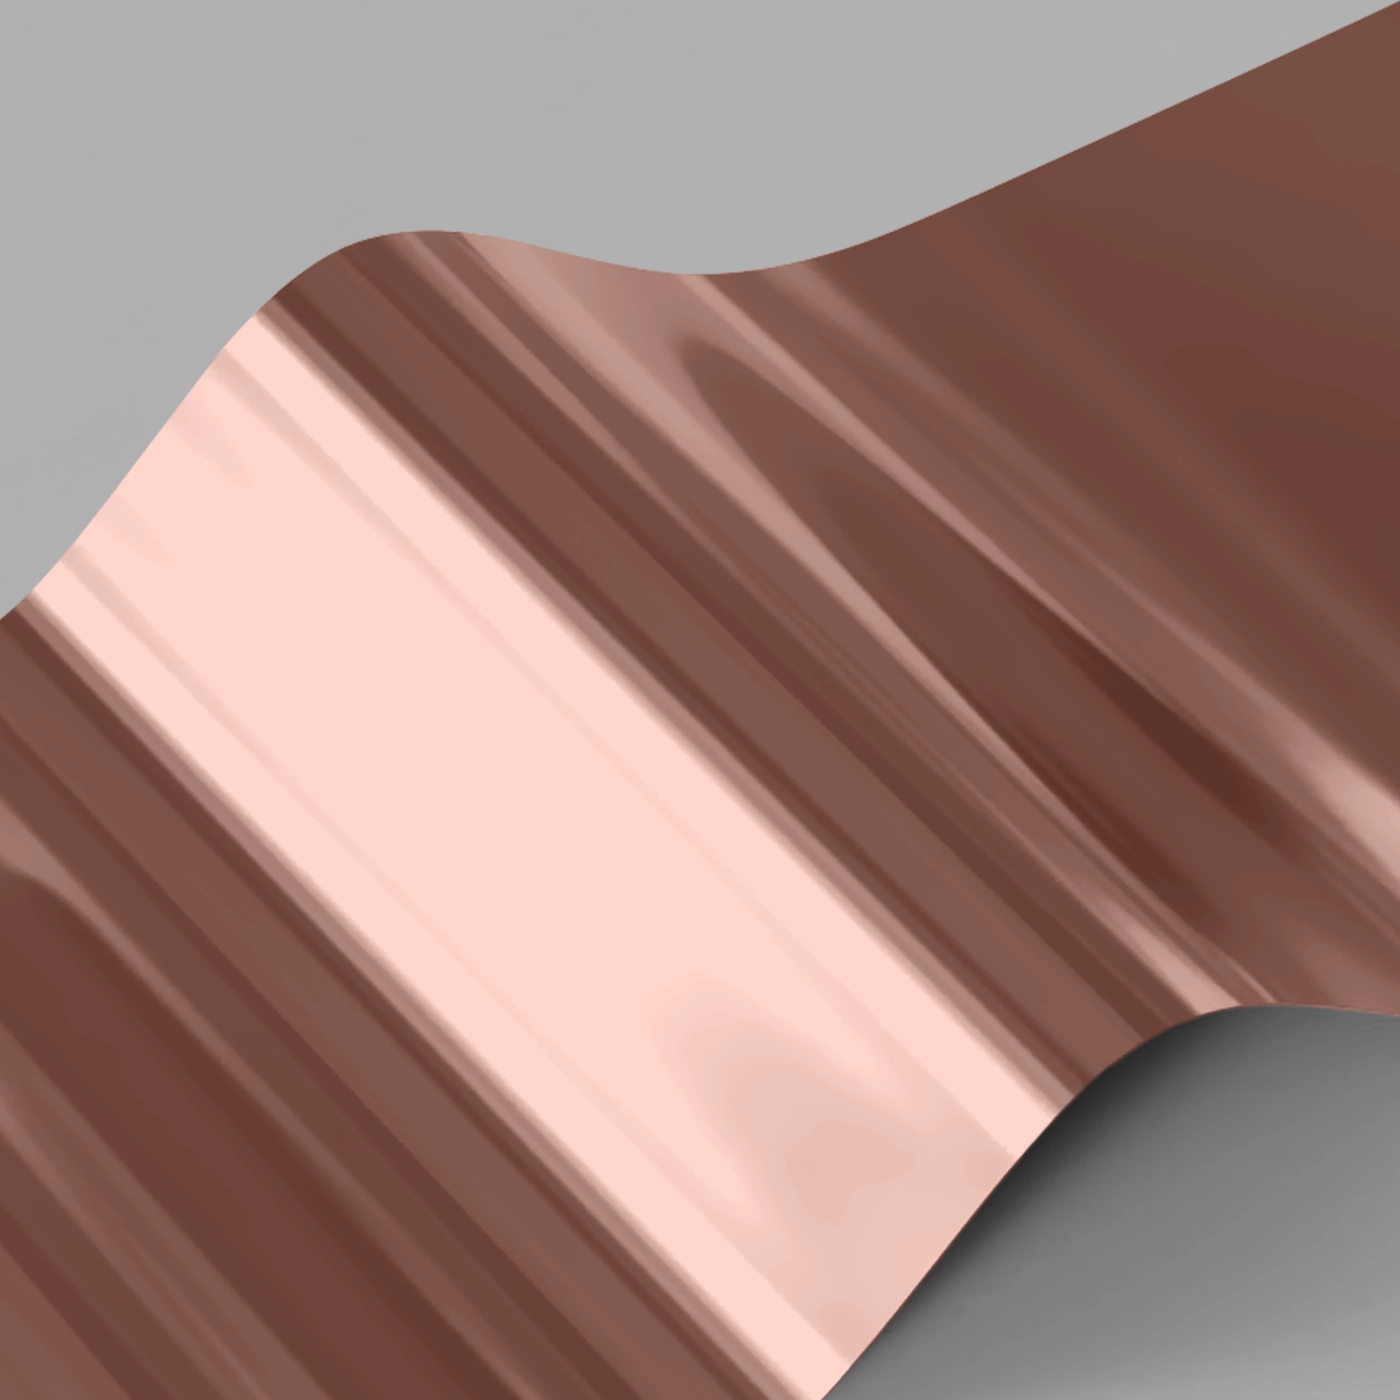
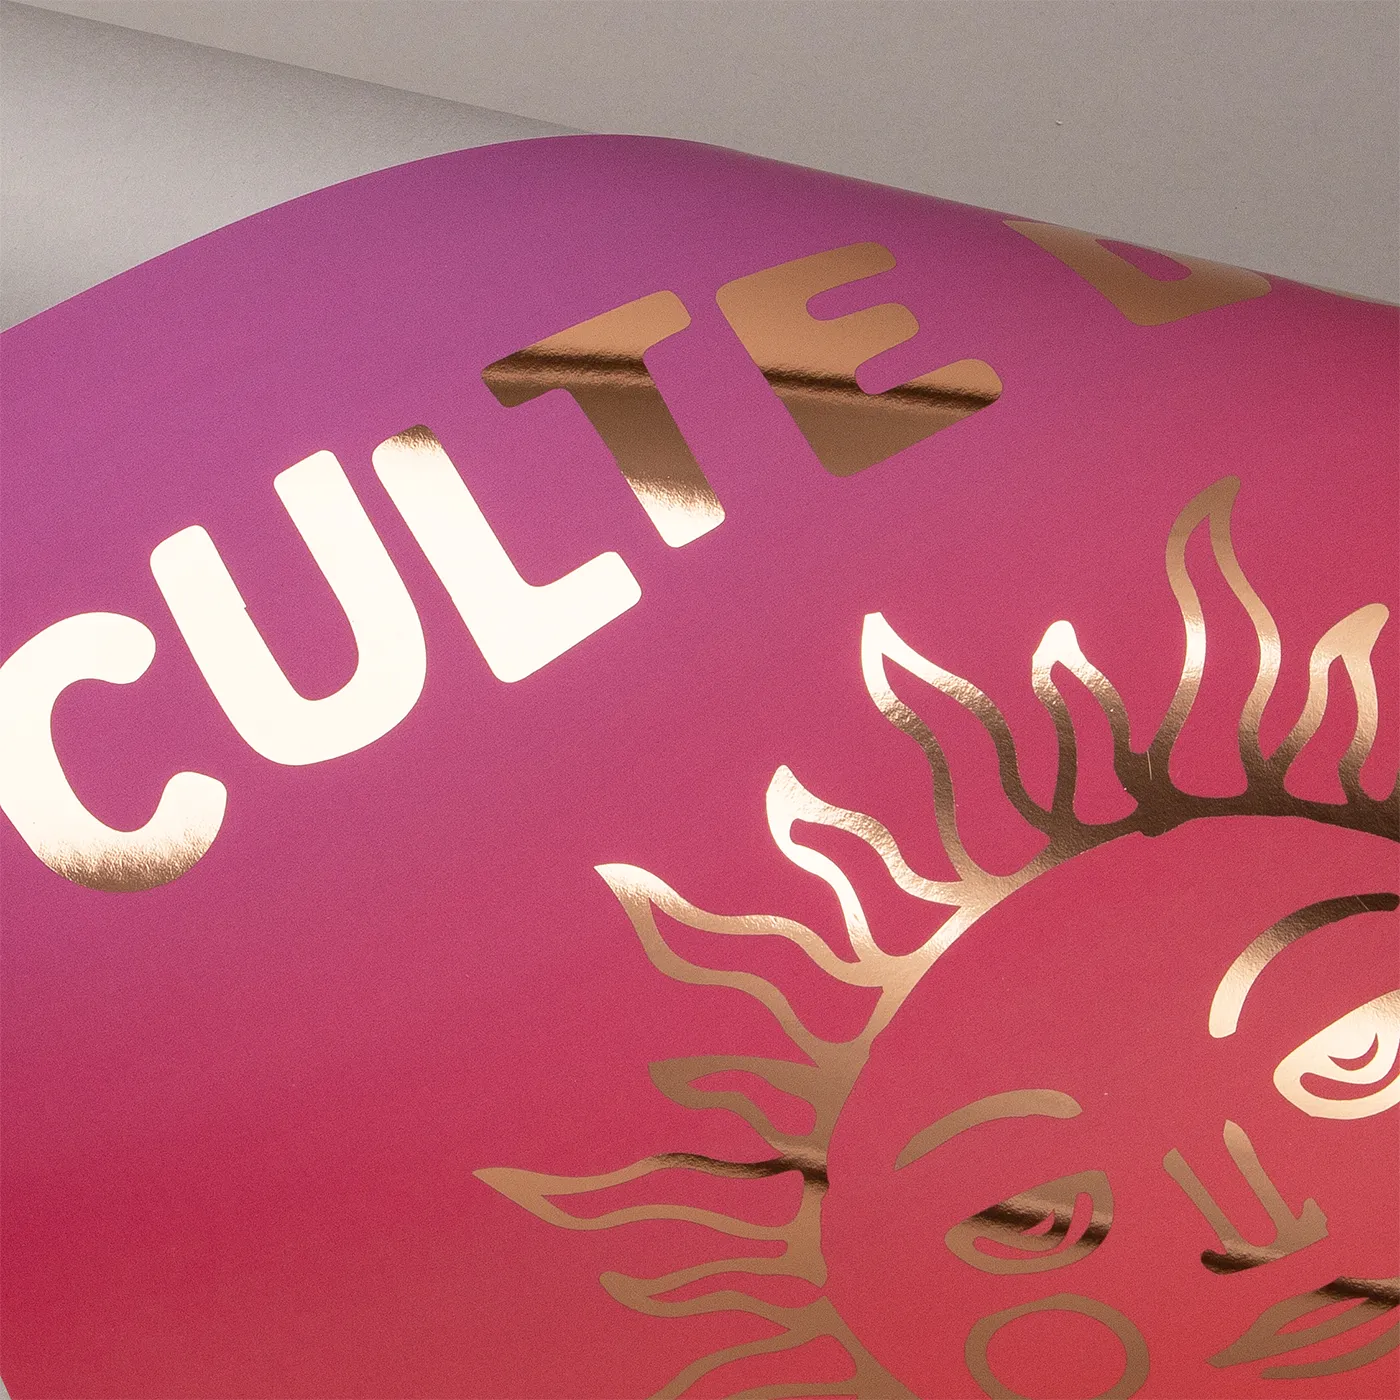
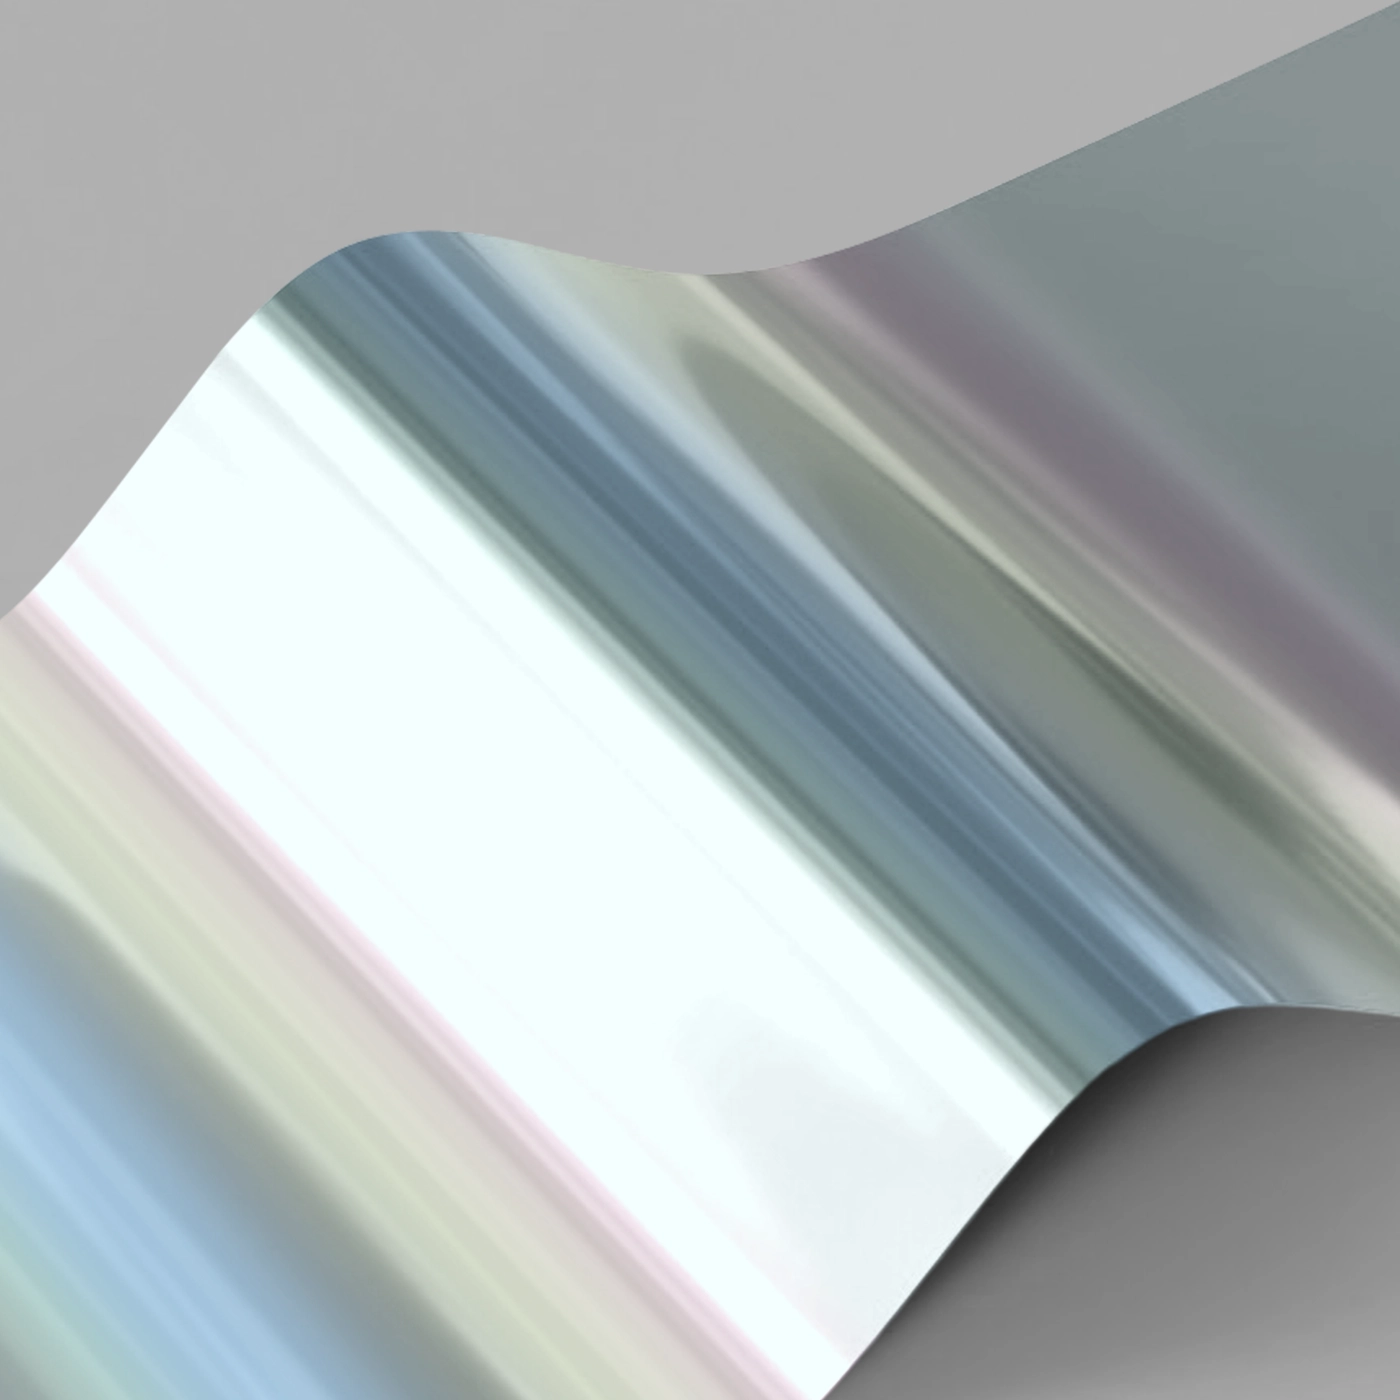
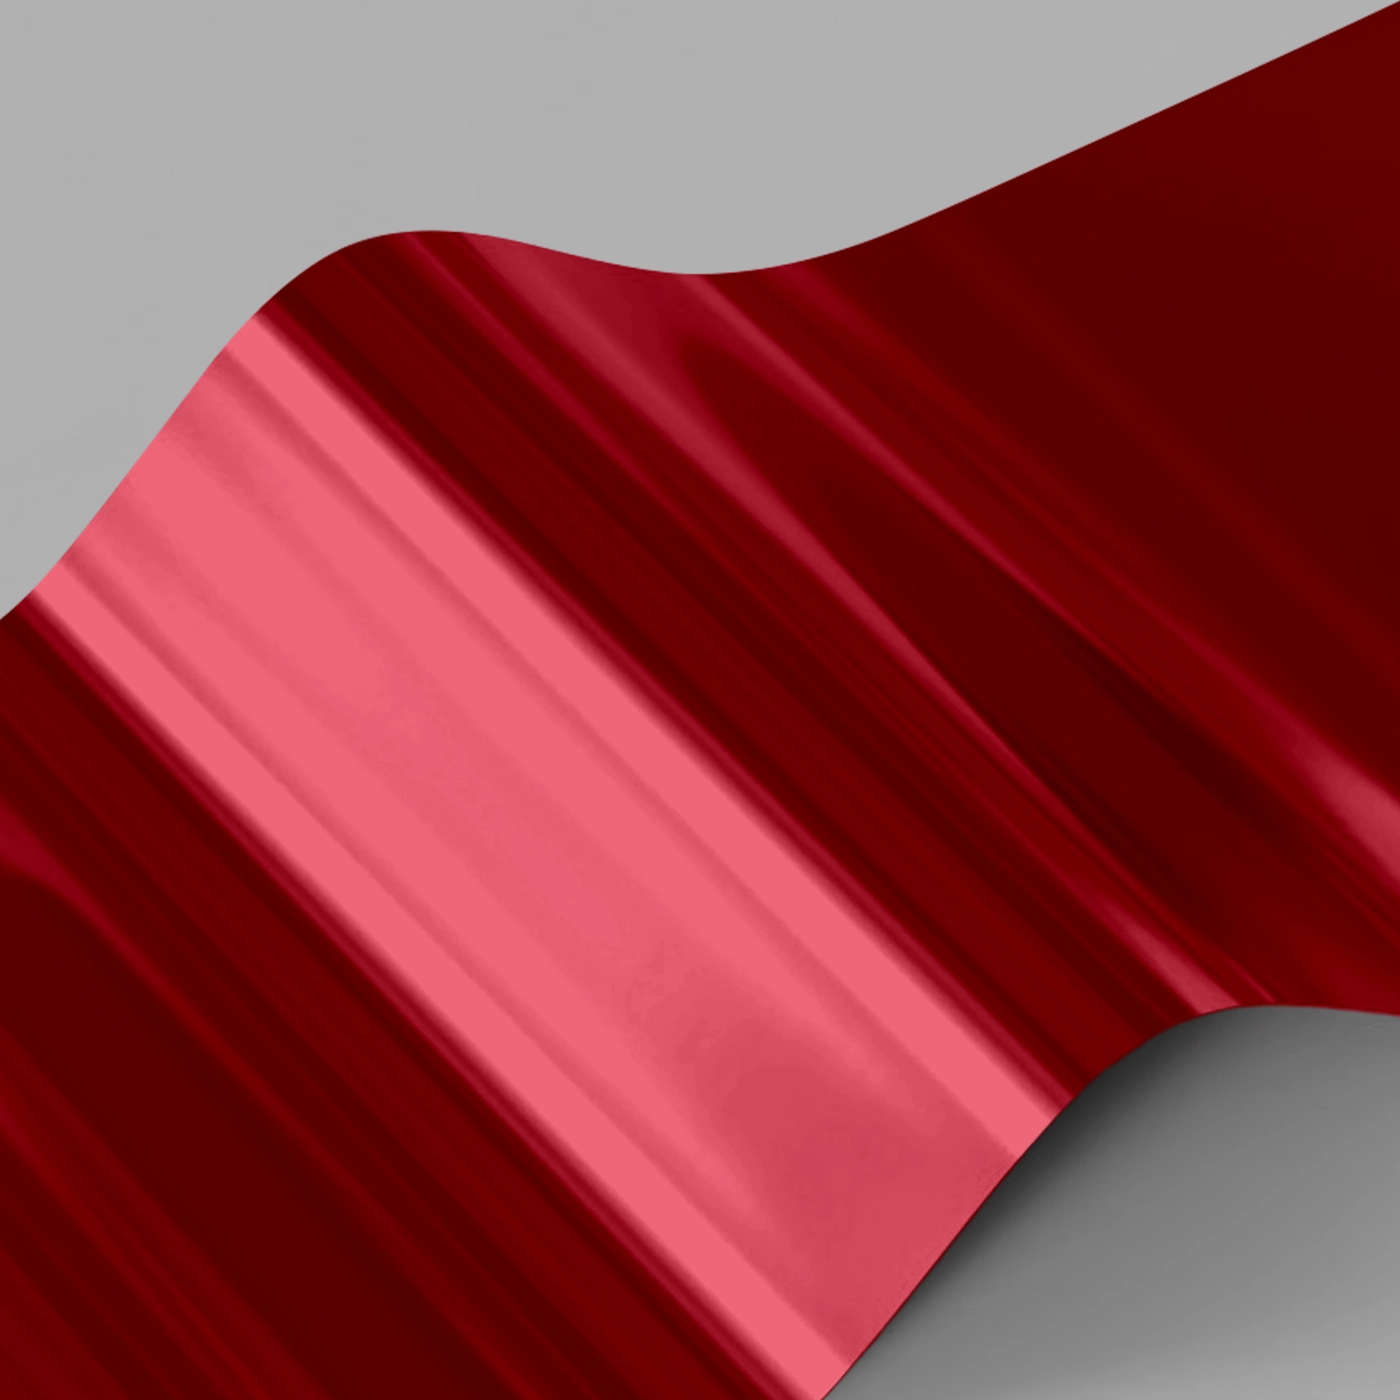
Foiling
One-sided foil While your print can be double sided, you can only apply Foil to one side of your design.
Whichever side you choose to add Foiling to must be velvet laminated (this protects your Foil from slipping or scratching).
If you would like Foil on both sides of your print, please contact our Bespoke Team. Foiled Stickers cannot be laminated and can only be foiled on one side
Foiling
One-sided foil While your print can be double sided, you can only apply Foil to one side of your design.
Whichever side you choose to add Foiling to must be velvet laminated (this protects your Foil from slipping or scratching).
If you would like Foil on both sides of your print, please contact our Bespoke Team. Foiled Stickers cannot be laminated and can only be foiled on one side
One-sided foil
While your print can be double sided, you can only apply Foil to one side of your design.





Printed sides
One side: Print your design on one side of the product only. The reverse side will remain unprinted.
Both sides: Print your design on both sides of the product. Choose this option when you want to apply a design on both the front and back.
Printed sides
One side: Print your design on one side of the product only. The reverse side will remain unprinted.
Both sides: Print your design on both sides of the product. Choose this option when you want to apply a design on both the front and back.
Paper
Paper
Quantity
Please enter a quantity larger than 1
If there is a paper stock, size, quantity or finish you want but can't find, fill in our bespoke order form or contact our team .
The options you have chosen mean that your leaflets will be delivered creased but not folded. If you'd like your print to arrive already folded, please enter a lower quantity or a lighter paper weight.
Extras
Lamination
Lamination types
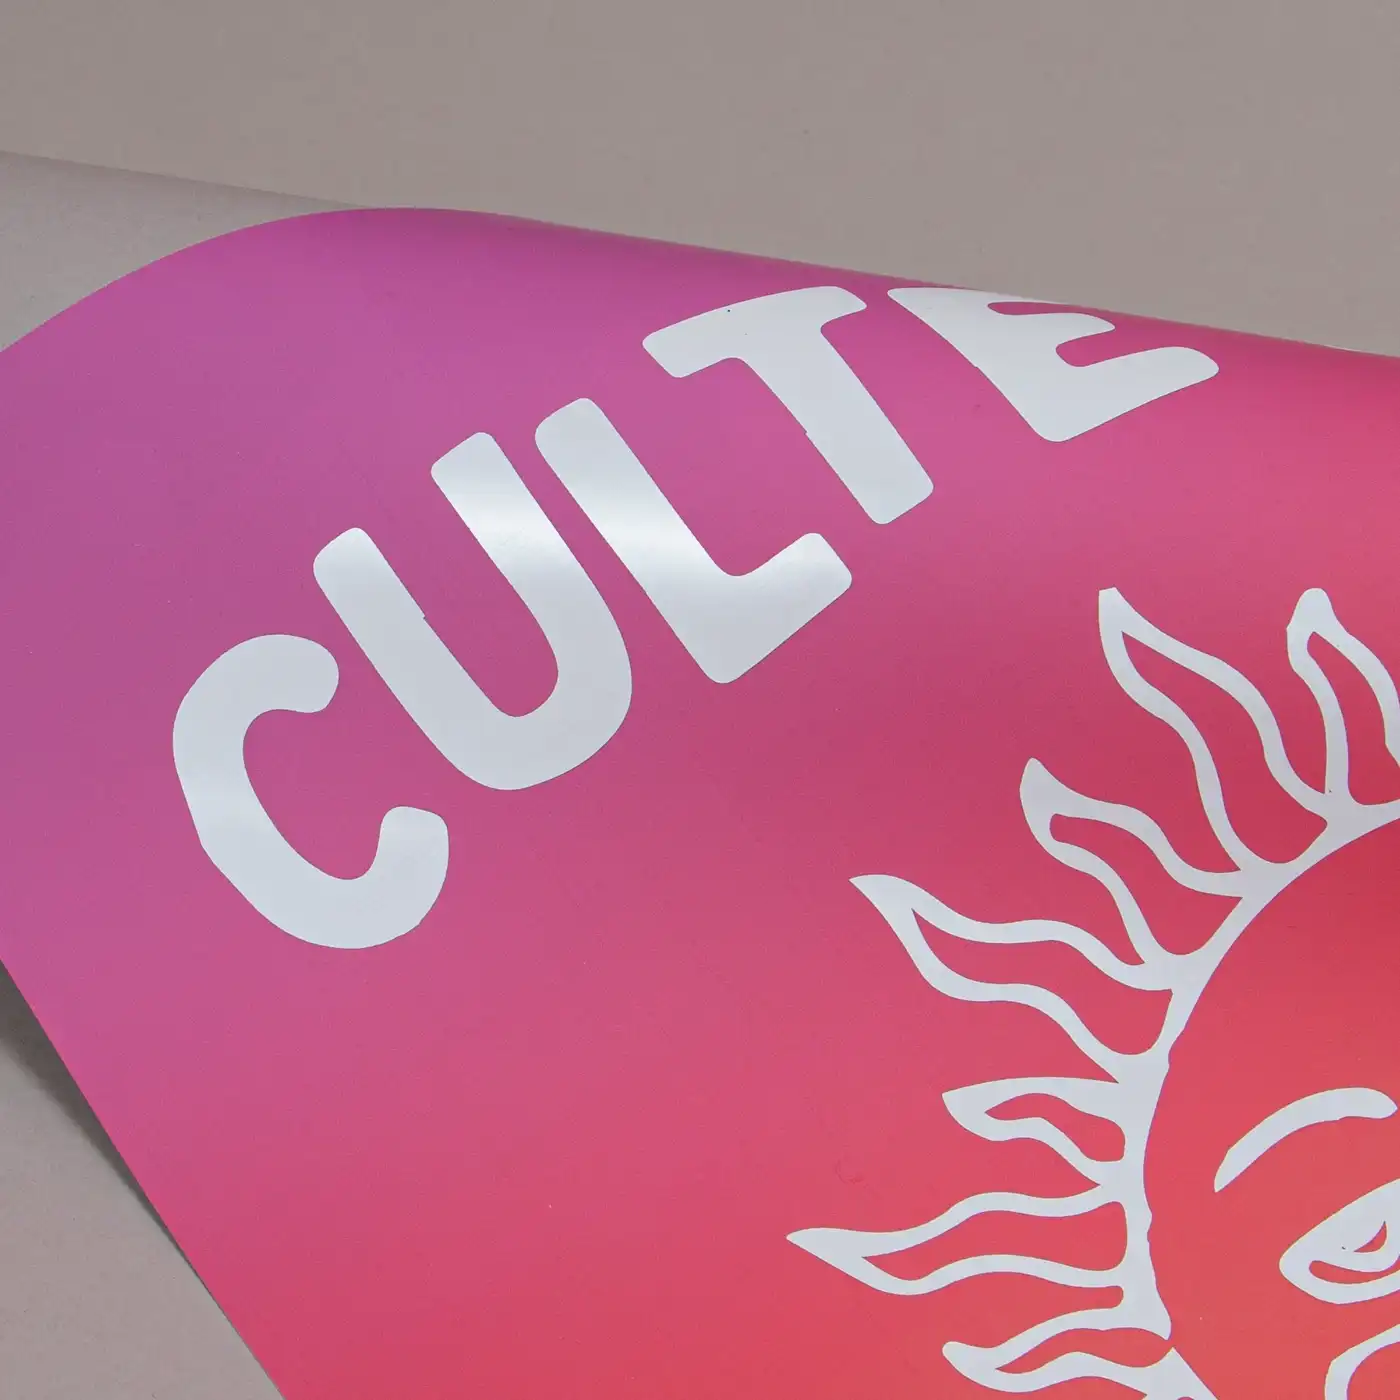
Matt: Protects your print while giving a subtle and soft finish.
Gloss: Offers a high shine that works well with images and solid colours.
Velvet: Gives a soft, touchable texture and non-shine finish.
Anti-Bacterial Gloss: This high-shine gloss is embedded with silver ions that prevents 99% of bacteria surviving.
Lamination Sides
None: Without lamination, you can feel the real texture of the paper, and it's easy to write on.
One side: We will always laminate on page 1 of your PDF when ‘one side’ is selected. If that isn't the page you want laminated, just swap the page order in your PDF.
Both sides: The most popular choice when laminating – choose both sides when you want double the protection.
Remember: Laminating will protect your print but you will not be able to write on it with certain types of pen. If you're printing with heavy ink coverage, we recommend using lamination to protect the print and prevent damage.
Corners
Square corners: Leave your corners square for a traditional, professional finish.
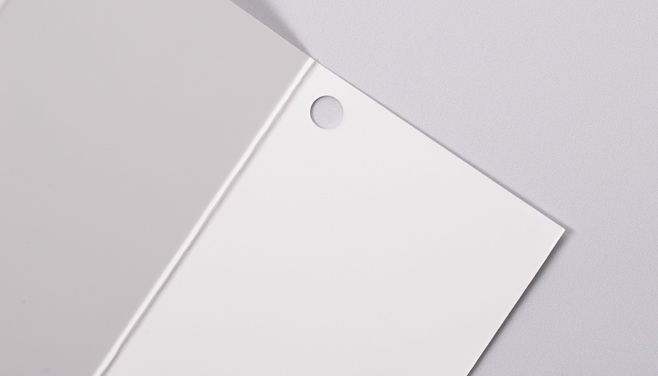
Round corners: Give your print a modern edge with a rounded finish. Our corners are rounded at a 7mm radius so don't leave anything important too close to the corners.
Select your Delivery options
Delivery type
As you have previously selected a delivery option for a previous product we have grouped these items to lower your delivery costs. Due to the items added to your basket we are no longer able to offer your selected delivery option. Please reselect your delivery from the options below. If you are sending to multiple addresses you can ungroup your items.
Delivery type
The paper you have chosen is not available at this quantity.
To keep your paper choice please enter a quantity than .
- Cotton - 250gsm
- Tearproof - 318gsm
- Cream - 400gsm
- Tintoretto Gesso - 250gsm
- Tintoretto Gesso - 300gsm
- Gloss - 130gsm
- Gloss - 150gsm
- Gloss - 170gsm
- Gloss - 200gsm
- Gloss - 250gsm
- Gloss - 300gsm
- Kraft - 300gsm
- Laid - 300gsm
- Nettuno - 140gsm
- Nettuno - 280gsm
- Recycled Silk - 150gsm
- Recycled Silk - 250gsm
- Recycled Silk - 350gsm
- Recycled Uncoated - 160gsm
- Recycled Uncoated - 200gsm
- Recycled Uncoated - 250gsm
- Recycled Uncoated - 300gsm
- Recycled Uncoated - 350gsm
- Silk - 130gsm
- Silk - 150gsm
- Silk - 170gsm
- Silk - 200gsm
- Silk - 250gsm
- Silk - 300gsm
- Silk - 350gsm
- Pearl Polar - 300gsm
- Uncoated - 120gsm
- Uncoated - 250gsm
- Acquerello - 160gsm
- Acquerello - 280gsm
- Tintoretto Gesso - 150gsm
- Laid - 120gsm
- Pearl Oyster - 300gsm
- Kraft - 120gsm
- Fresco Gesso - 300gsm
- Ice Gold - 300gsm
- Rives Shetland - 250gsm
- Uncoated - 170gsm
- Uncoated - 350gsm
For documents with this number of pages, the maximum quantity available is units.
If you require a larger quantity, please reduce your number of pages to less than 1 or get in touch with our Bespoke Team.
This reorder job does not allow editing the original artwork. You may still upload a new piece of artwork but doing so will remove the original artwork. Do you want to continue?