Wedding
3 ways to create standout Save the Date Cards
Start your Wedding Suite off on the right foot with our January Product of the Month- Save the Dates!
Okay, so the question has been asked! What comes next? There’s a lot of stationery that goes into any wedding day, but once you’ve chosen the date and venue- it’s time to let people know! That’s where a Save the Date comes in.
A small, but powerful piece of wedding print, they’re perfect for when you’ve decided on a date… and not a lot else. It’ll let people plan their holidays and work schedules well in advance, plus it’s the first time you can give people a real taste of your wedding style.
Let’s see how you can make yours stand out!
1. Choose the right paper stock for your Save the Date

We might be a little biased when it comes to our love of different papers, but your choice can make all the difference to your wedding stationery.
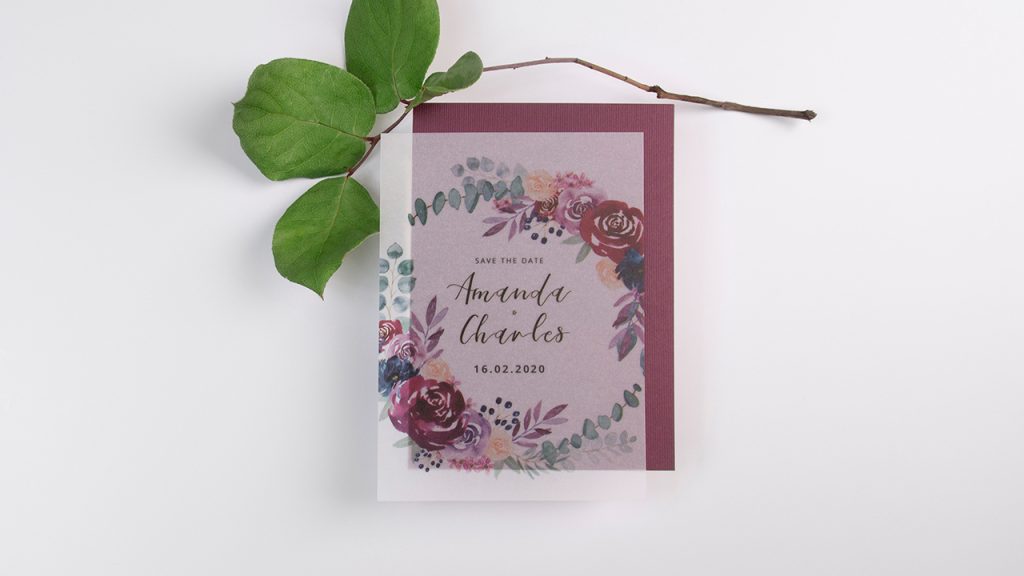
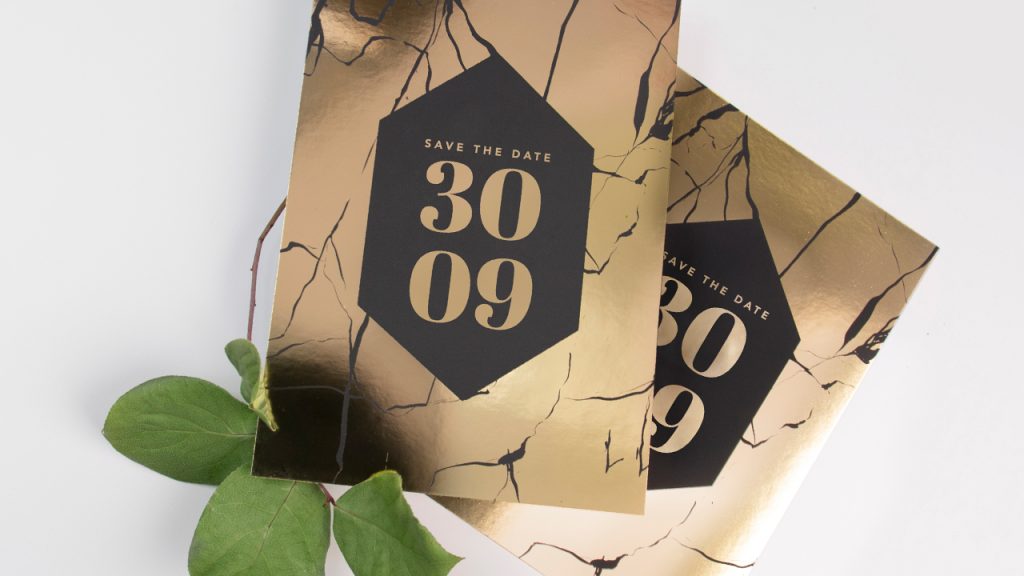
First, think about the general type of theme you’d like for your wedding- don’t worry, it doesn’t have the be anything specific at the moment. If you’d prefer something rustic, then stocks like Kraft can give a real earthy flair. If you’re dead set on an environmentally conscious day, you can create eco-conscious Save the Dates on stocks like Recycled Silk or Acquerello. Perhaps you want something as 24 karat as your day and would enjoy the shimmering luxury tones of papers like Ice Gold or enjoy something eye-catching and unique like the softness of Vellum.
With 18 different paper stocks to choose from, have a browse and find your perfect match!
2. Keep it concise

Think carefully about the information you want to put on your Save the Dates. Since they’re not the full Invitations, you don’t have to worry about cramming in too much information, even if you have some of the details planned already.
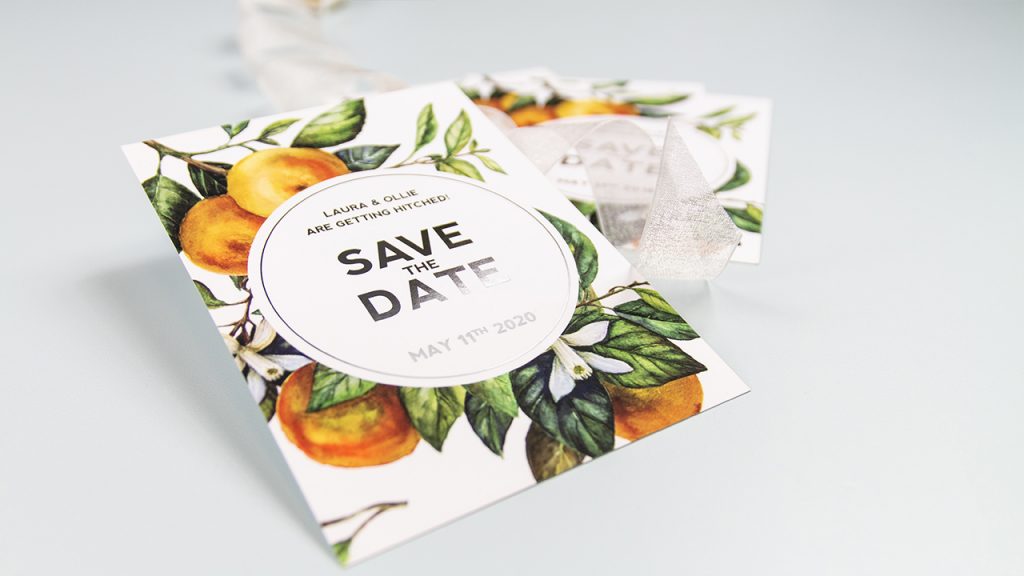
Save the Dates are… just that! A notice the save the date. It’s a good idea to make the date itself the focal point of the design and you can emphasise it with a bold colour choice or a special finish. The fact that it is a ‘Save the Date’ should also be present- and make sure not to forget your names! Otherwise, no one will know who they’re booking the time off for!
3. Standout with Special Finishes

Once you’re happy with your design, it’s time to really finish it in style. Foiling is a great way to highlight the main areas of your design while also giving your card a luxurious flair. If you’re looking for a sharp finish or an unusual shape, then you can always Die Cut parts of your design.
Perhaps you’re looking for something completely out of the box! If you have a specific vision you’d like to bring to life, make sure to have a chat to our Bespoke Team who will be more than happy to help create your perfect card.
Once your Save the Date in finished, why not match it with a Printed Envelope? This way, your guests will know how special your stationery is before they even open it!
Are you Wedding Print ready? Check out our full collection to make sure your big day goes off without a hitch!
